2012 Year in Review

IMG_929
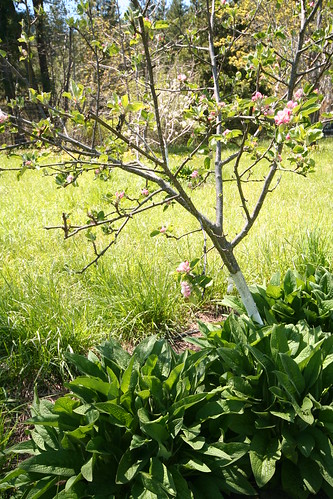
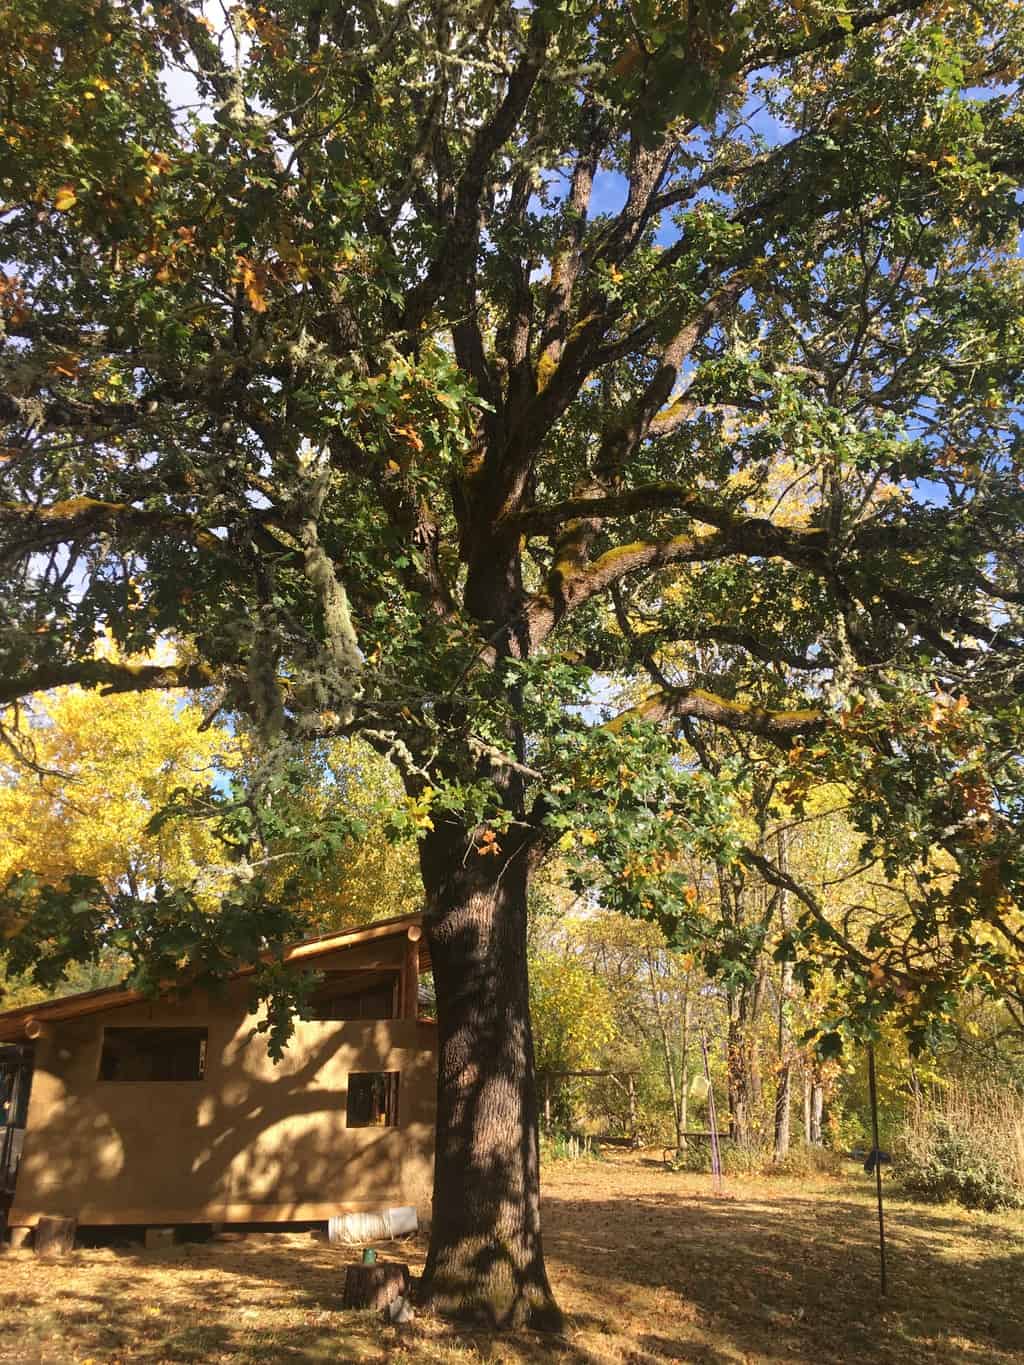
Incredibly, 2012 marks a full decade in the life of White Oak Farm.  I can see the telltale signs in the growth of fruit and nut trees, the maturity of our programs, and the milestones in the lives of our former students.  Some of our first campers from 2003 are now college graduates, world travelers, gardeners, and parents.  When they approach our farmer’s market booth I am so impressed by their confidence and grace, and I am humbled that the Farm had the chance to be a part of their childhoods.  Many of our former interns have also gone on to accomplish amazing things: becoming teachers, farmers, builders, and restoration foresters among other pursuits.  These inspiring graduates of our programs give us the enthusiasm to welcome new students each year onto the land.


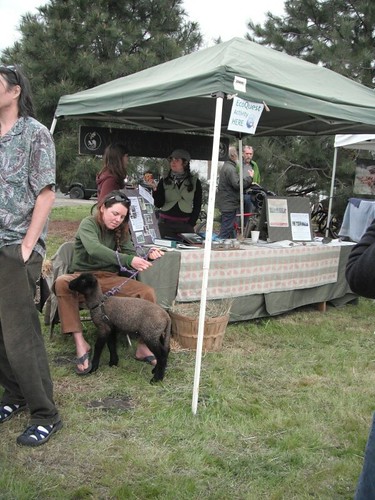
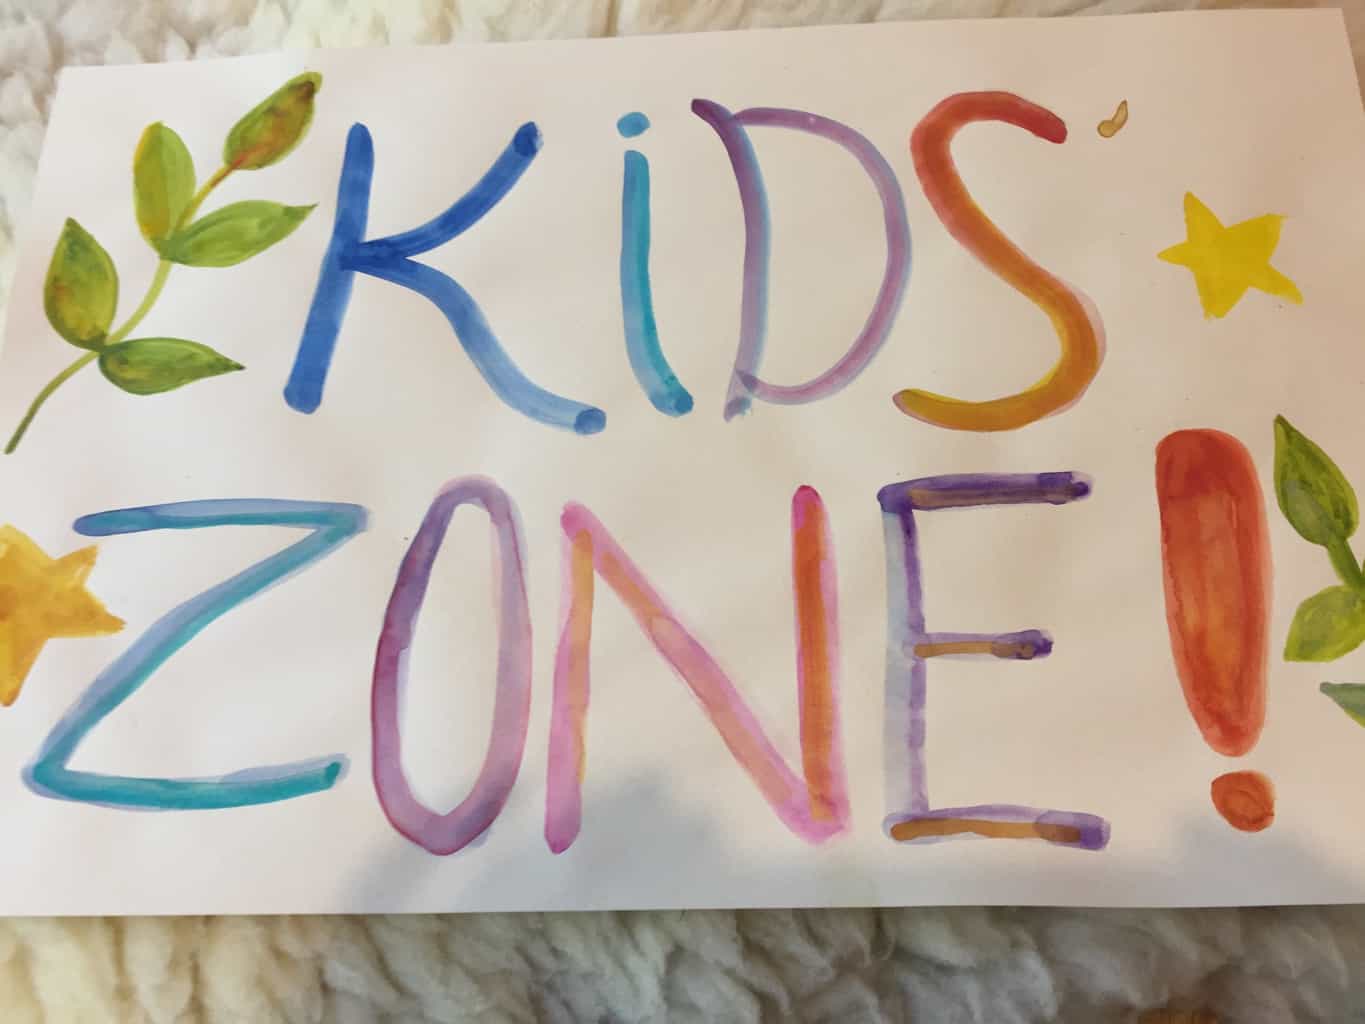
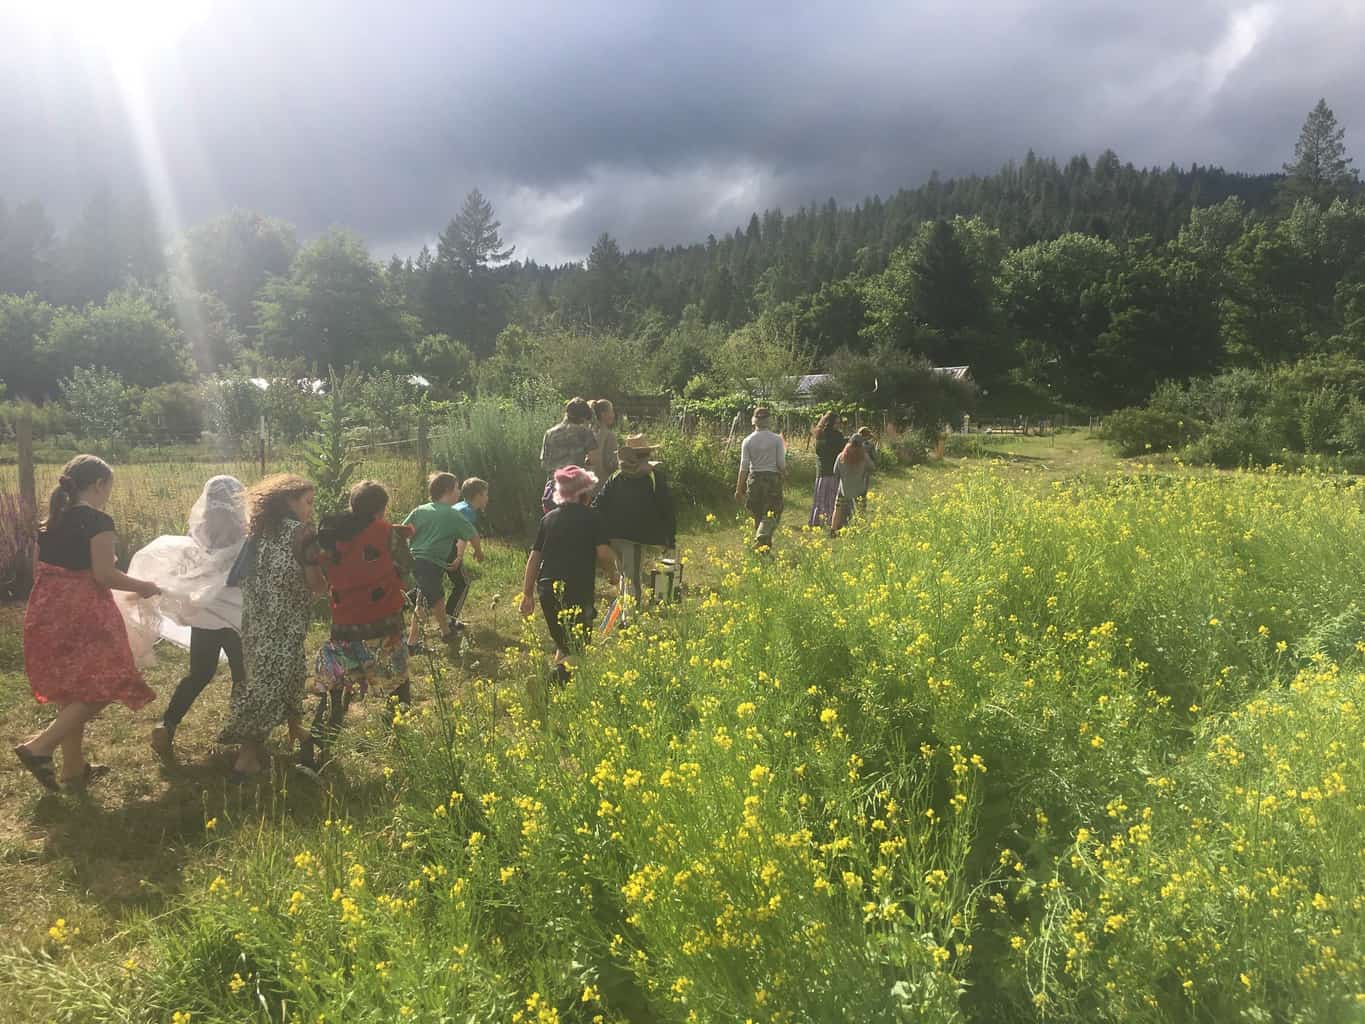
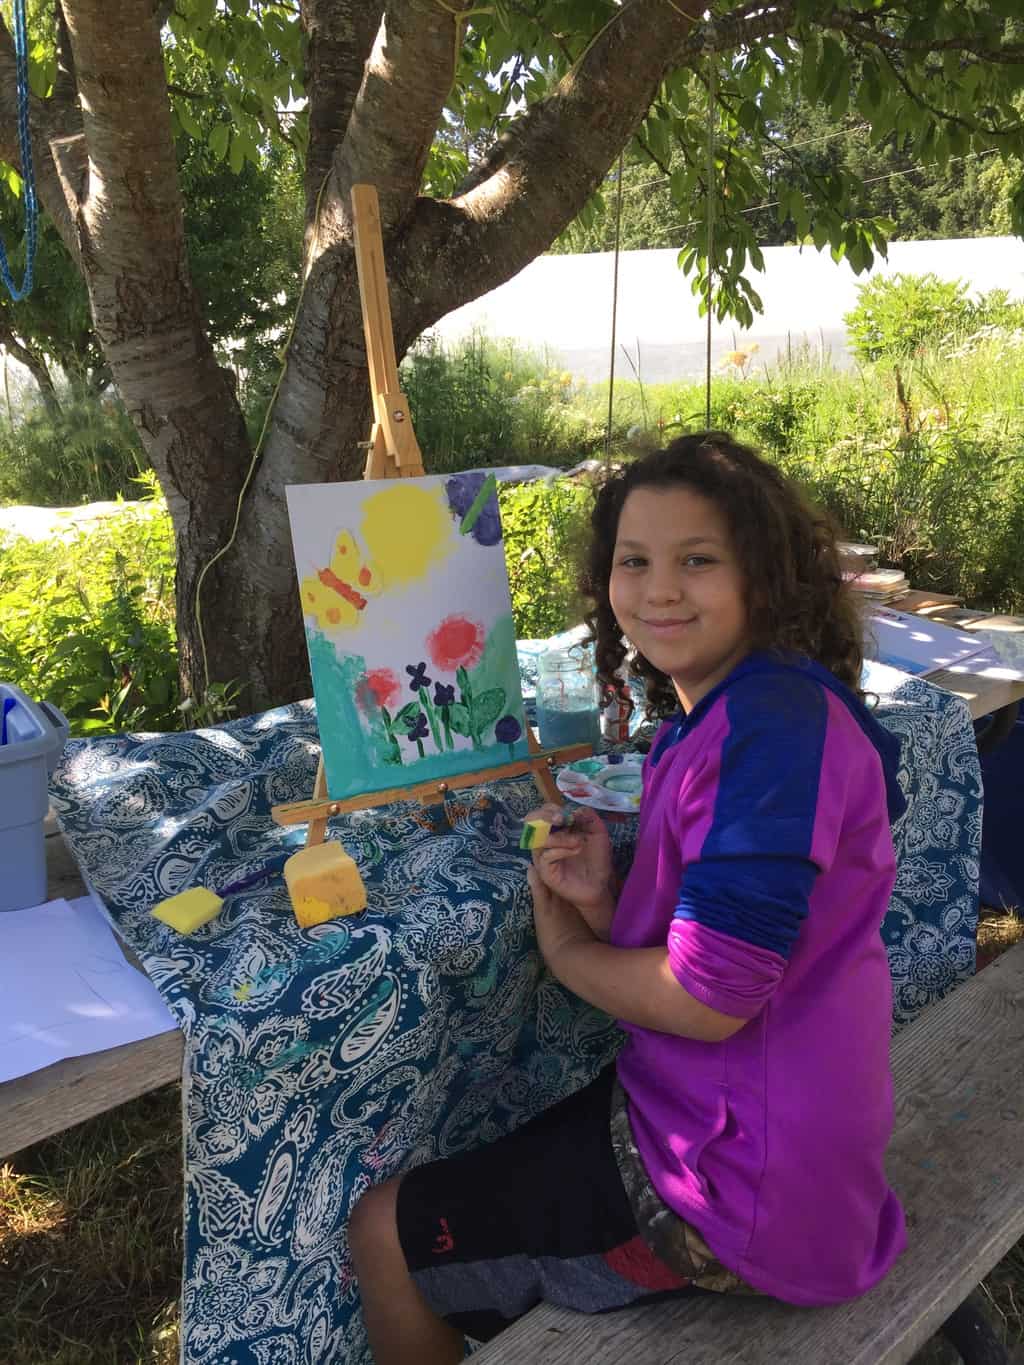
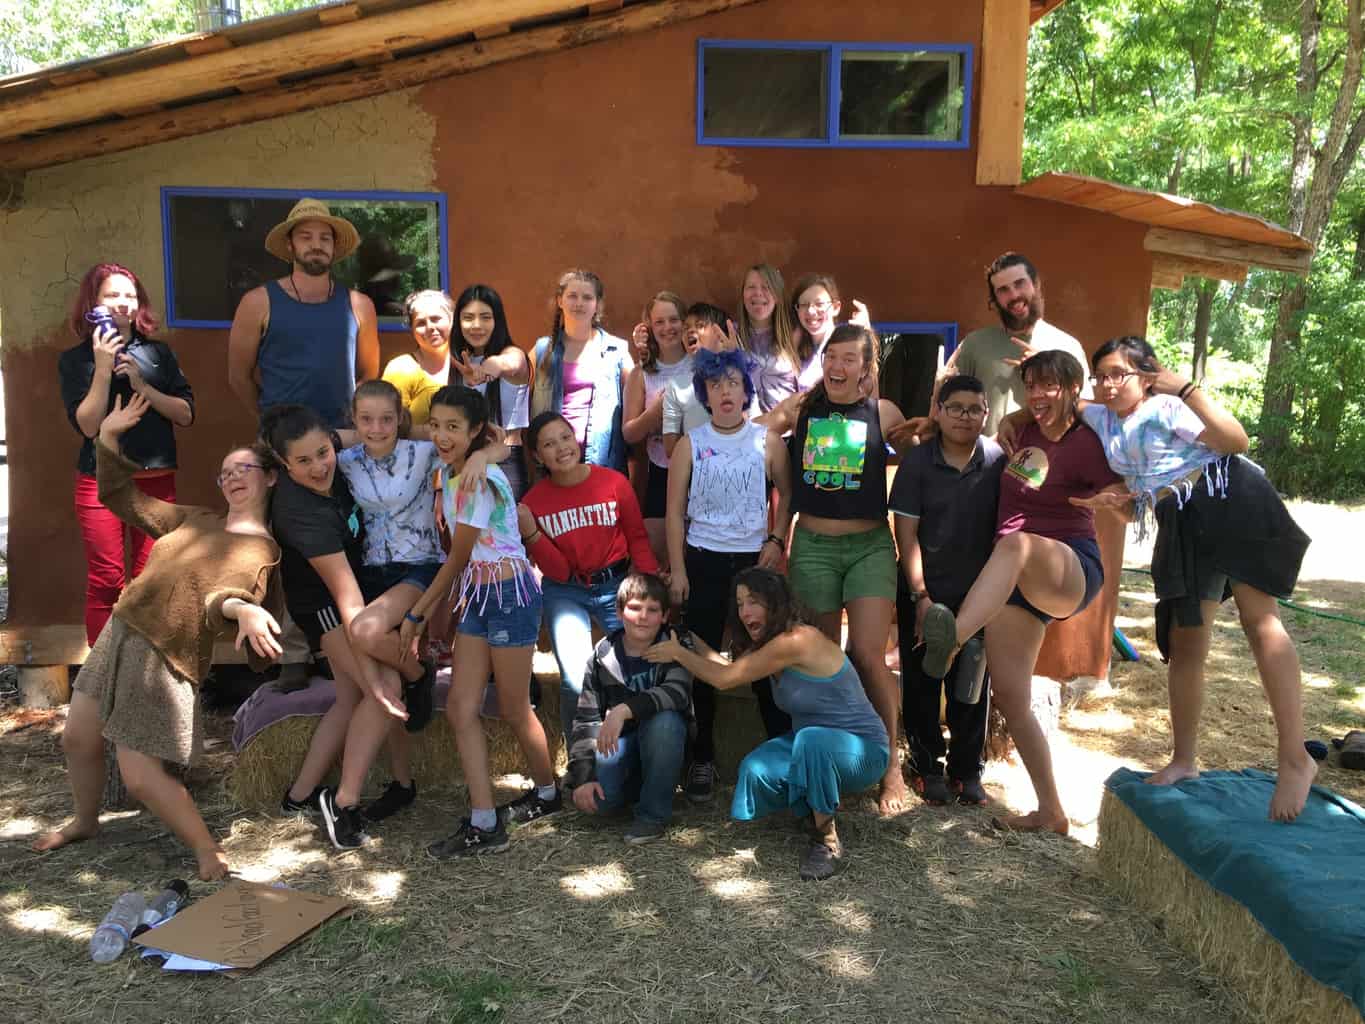
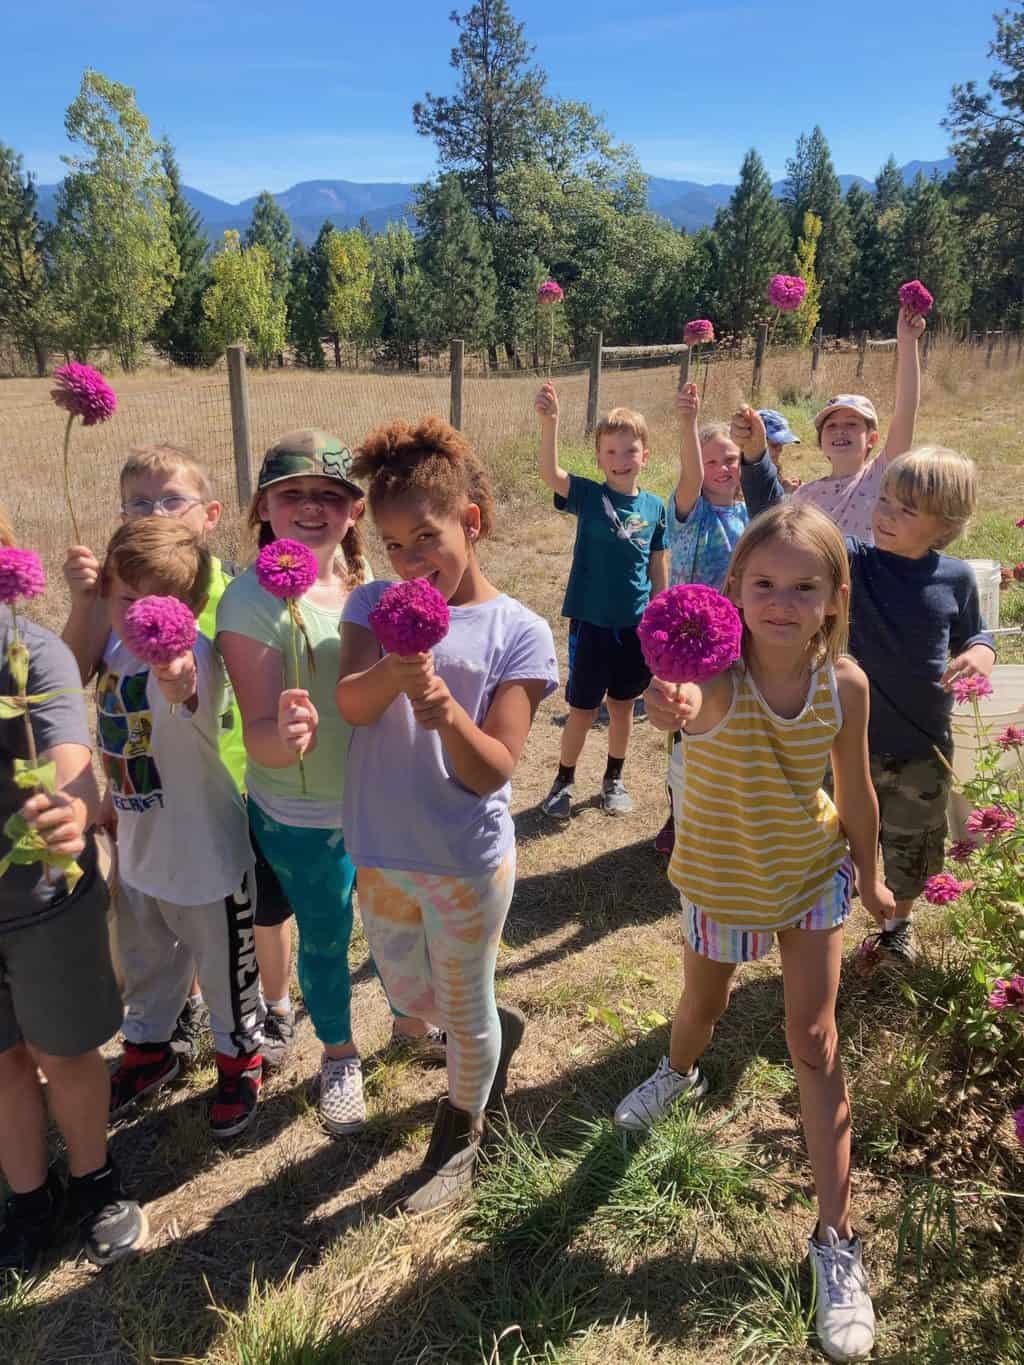
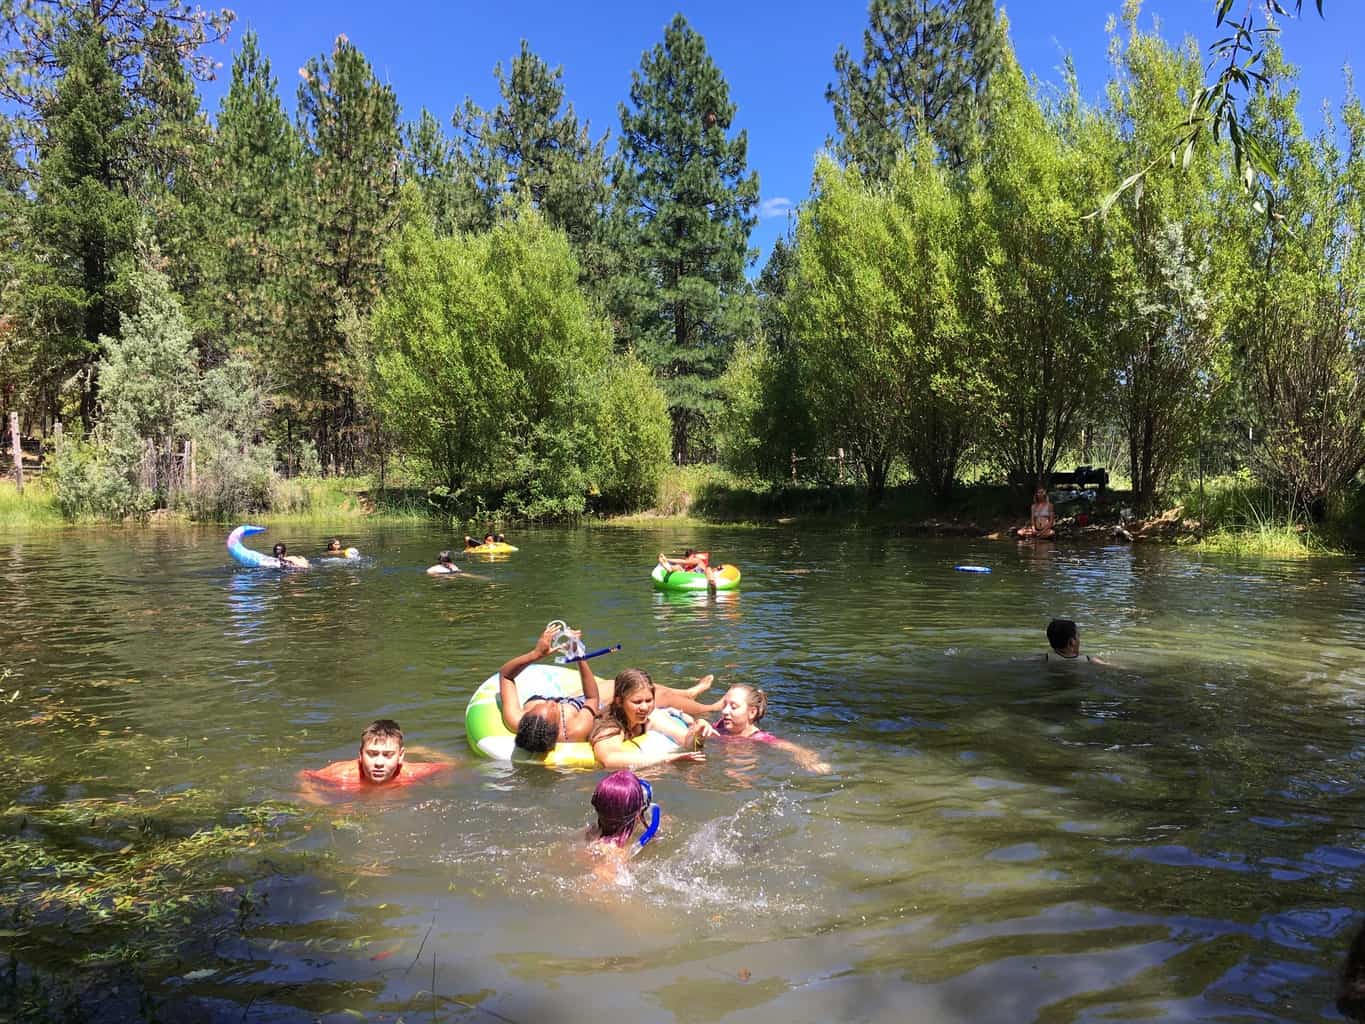
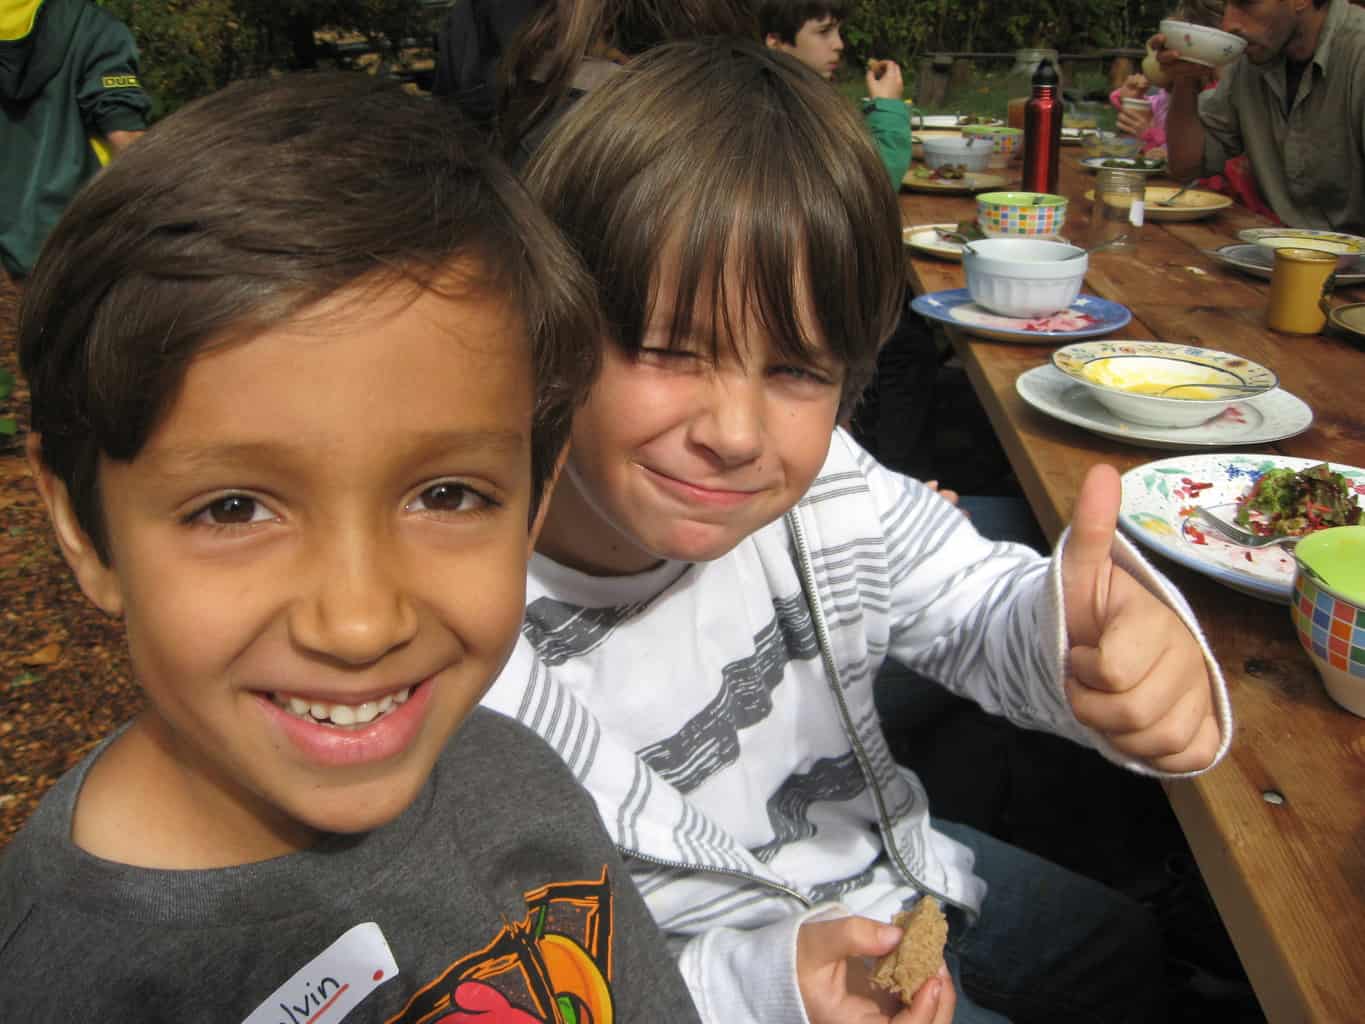
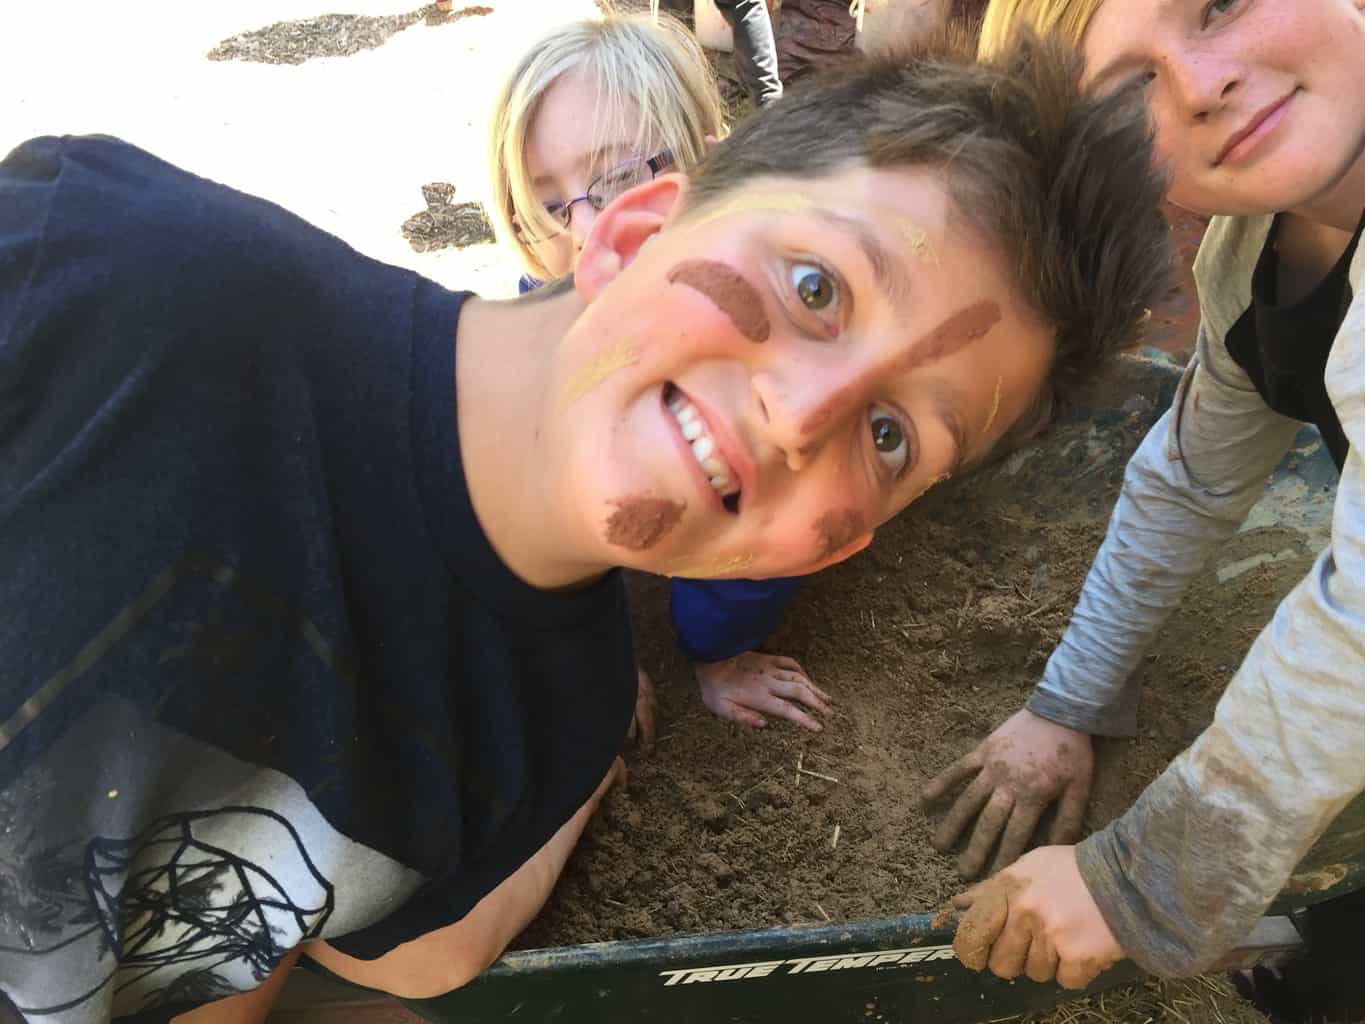
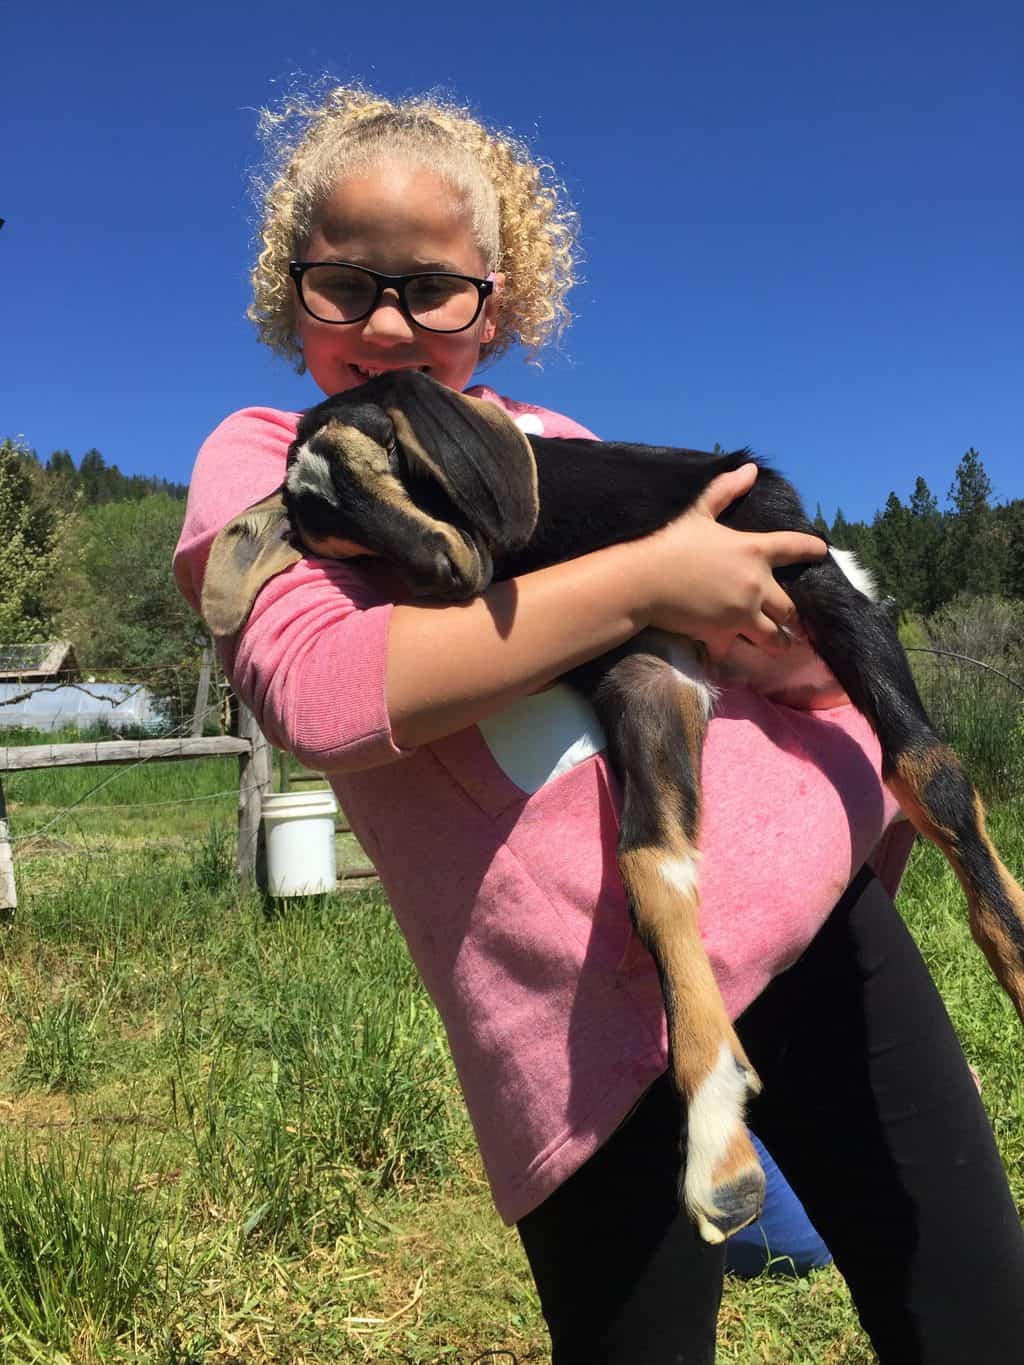
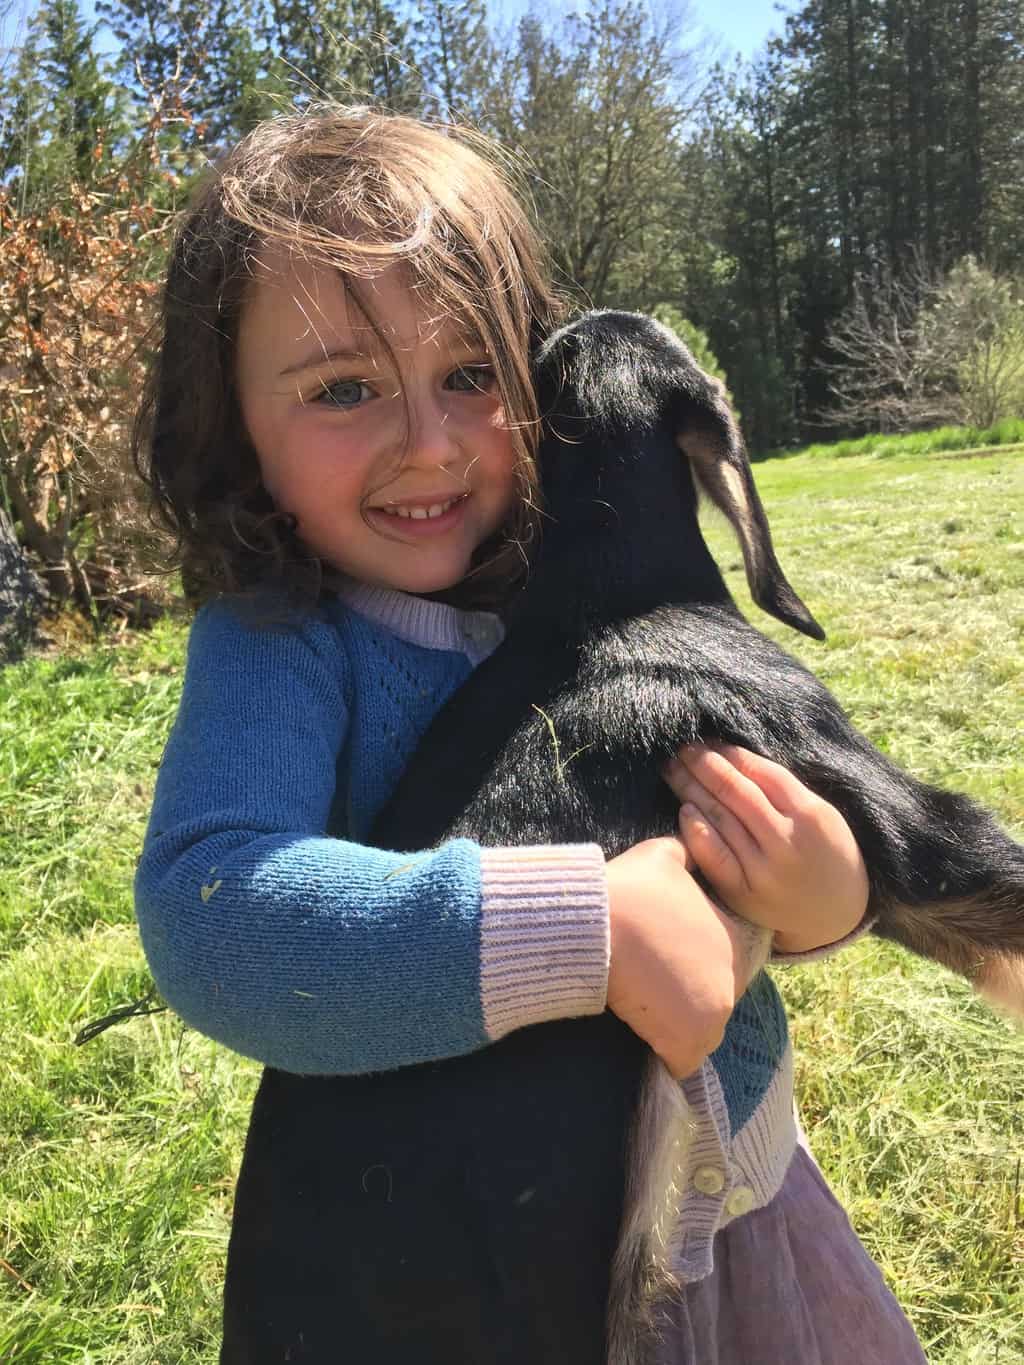
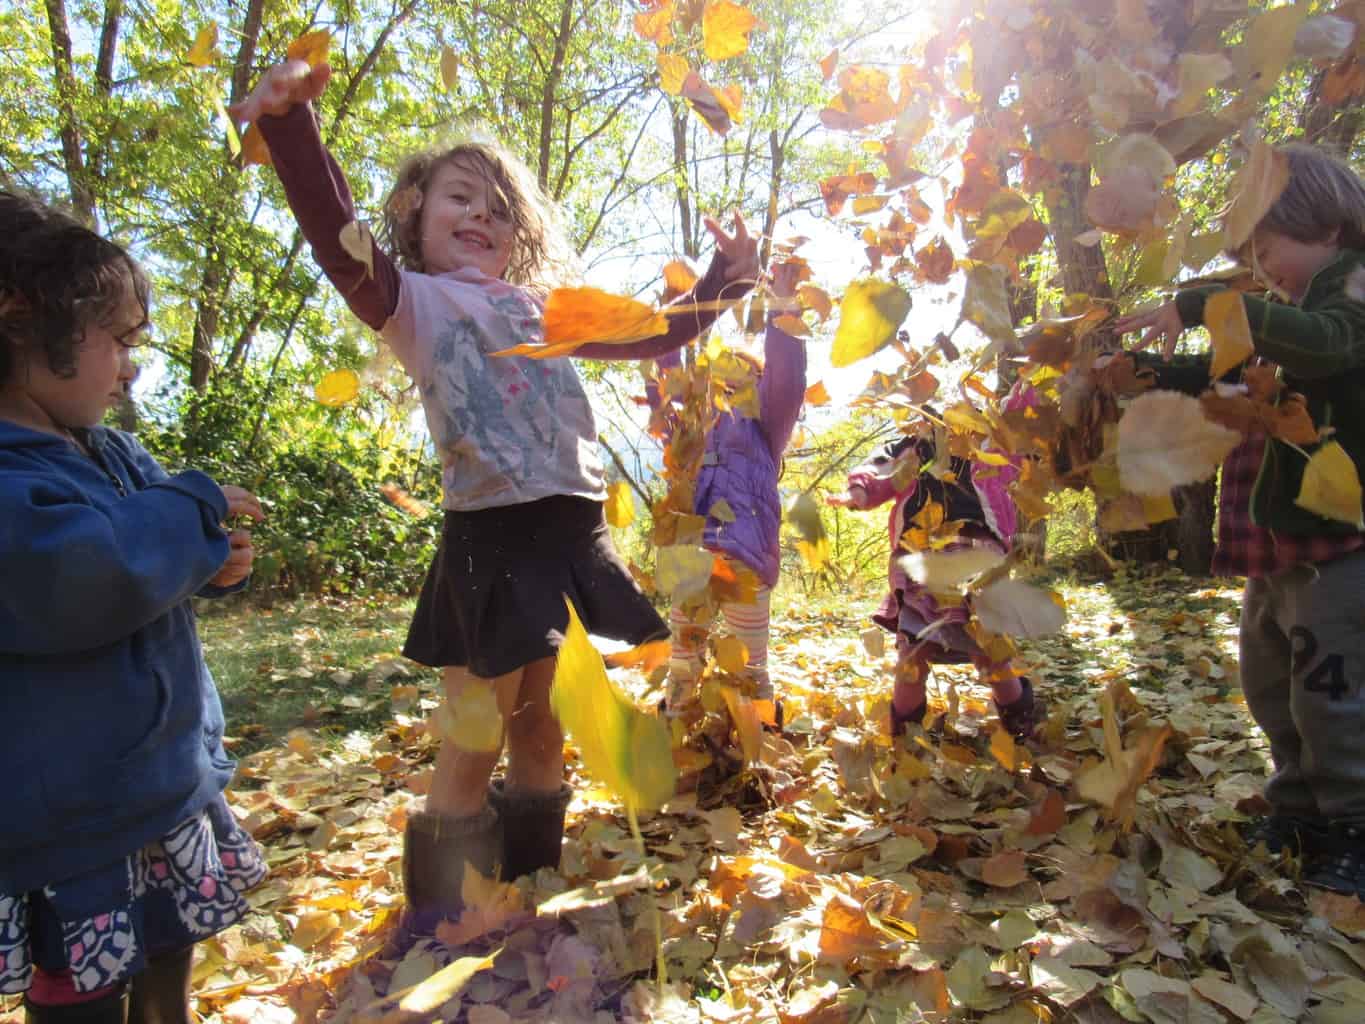
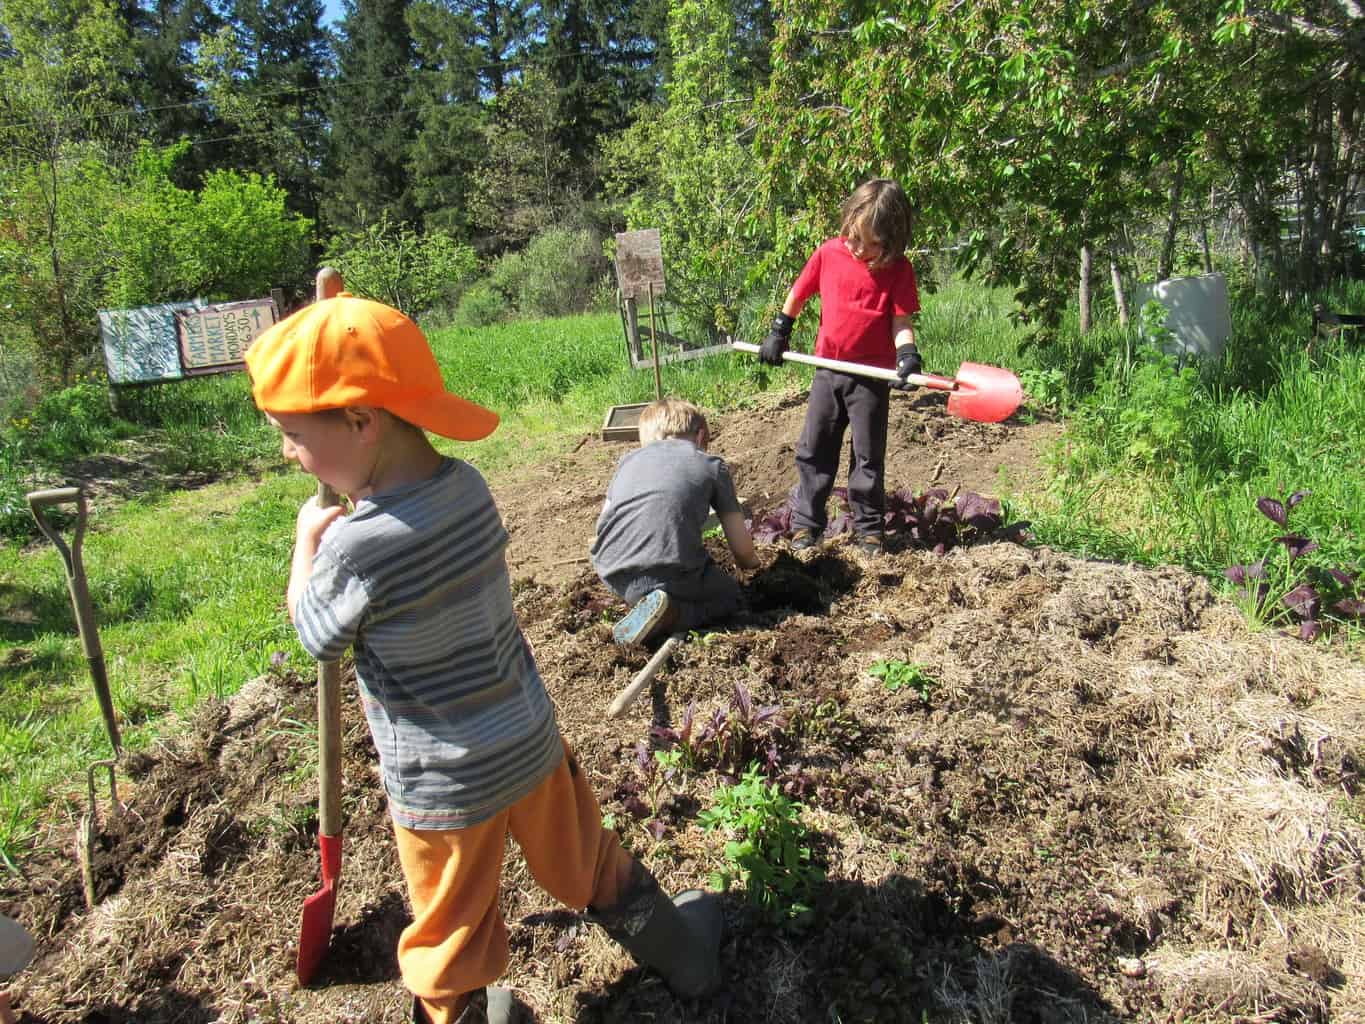
This year we had the opportunity to do a lot of welcoming!  Thanks to our Education Co-Coordinators Julie and Dave, 2012 was a banner year for children’s education at White Oak.  During the spring we hosted 20 school visits, including a three day high school trip in May.  Over the summer we had two weeks of our residential FarmStay program, as well as a week of Day Camp.  Julie and Dave also started a new pre-school program on the Farm that allowed us to host our youngest farmers yet: three to five year-olds.  This fall we also created a new partnership with Rogue Valley Farm to School to run ten Harvest Meal school visits for classes from across Josephine County.  Overall this year has been our most successful yet in providing a diverse set of educational experiences to hundreds of children throughout southern Oregon and northern California in terms of numbers served and breadth and quality of our offerings.  Please read Dave and Julie’s articles in the blog for more details on these great programs.


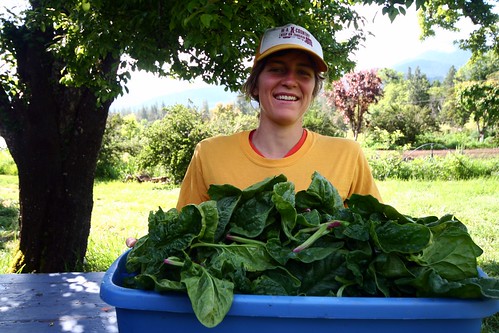
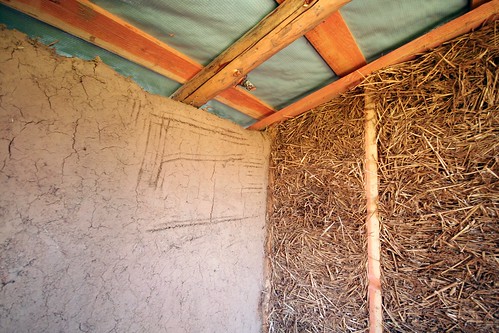
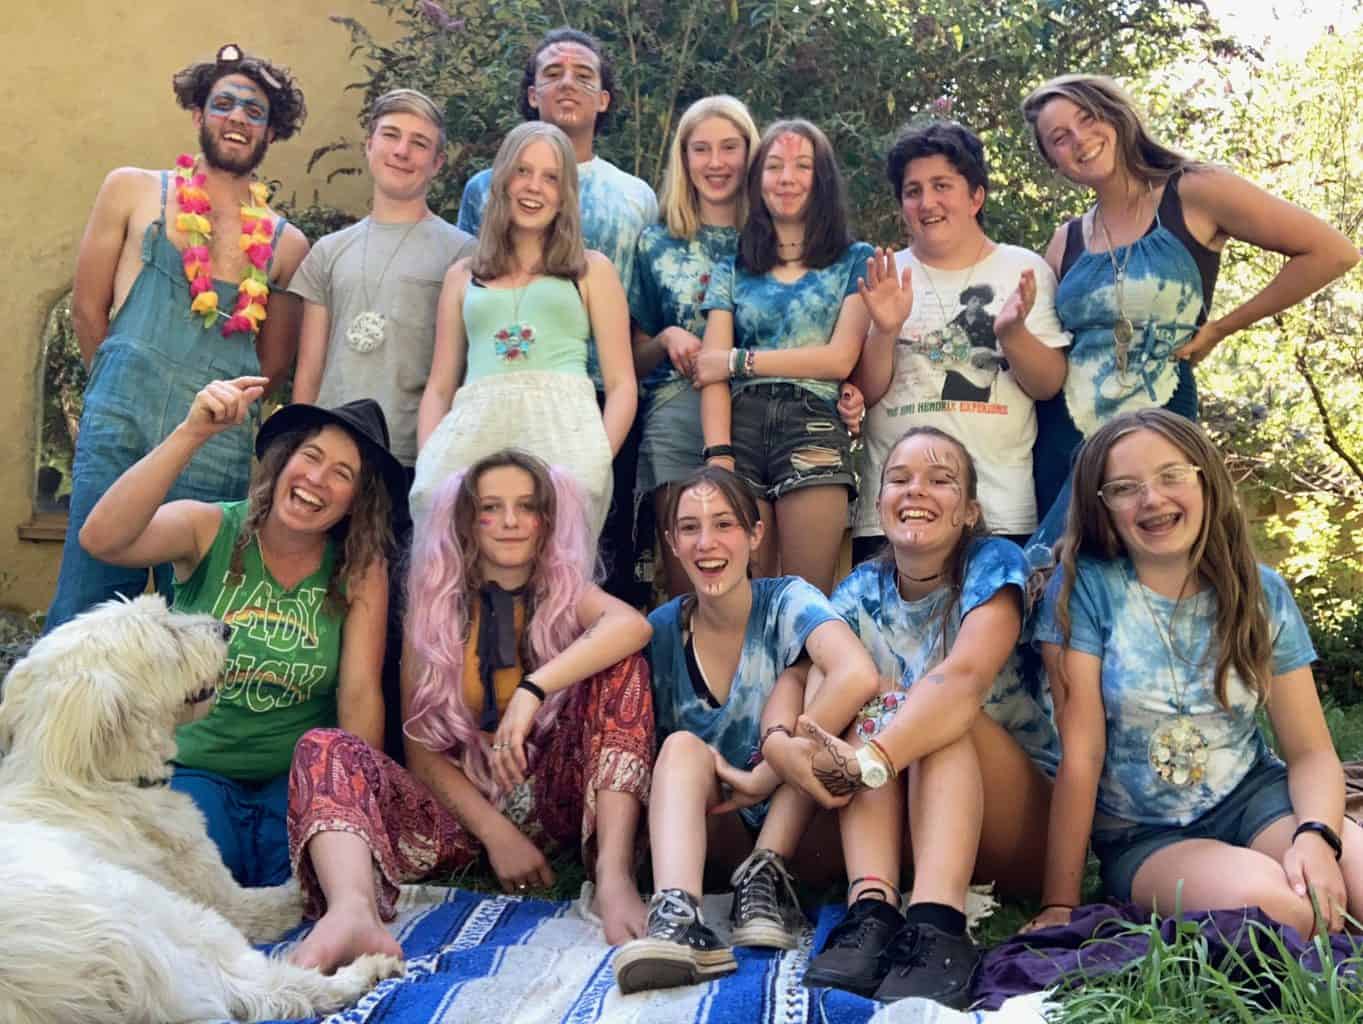
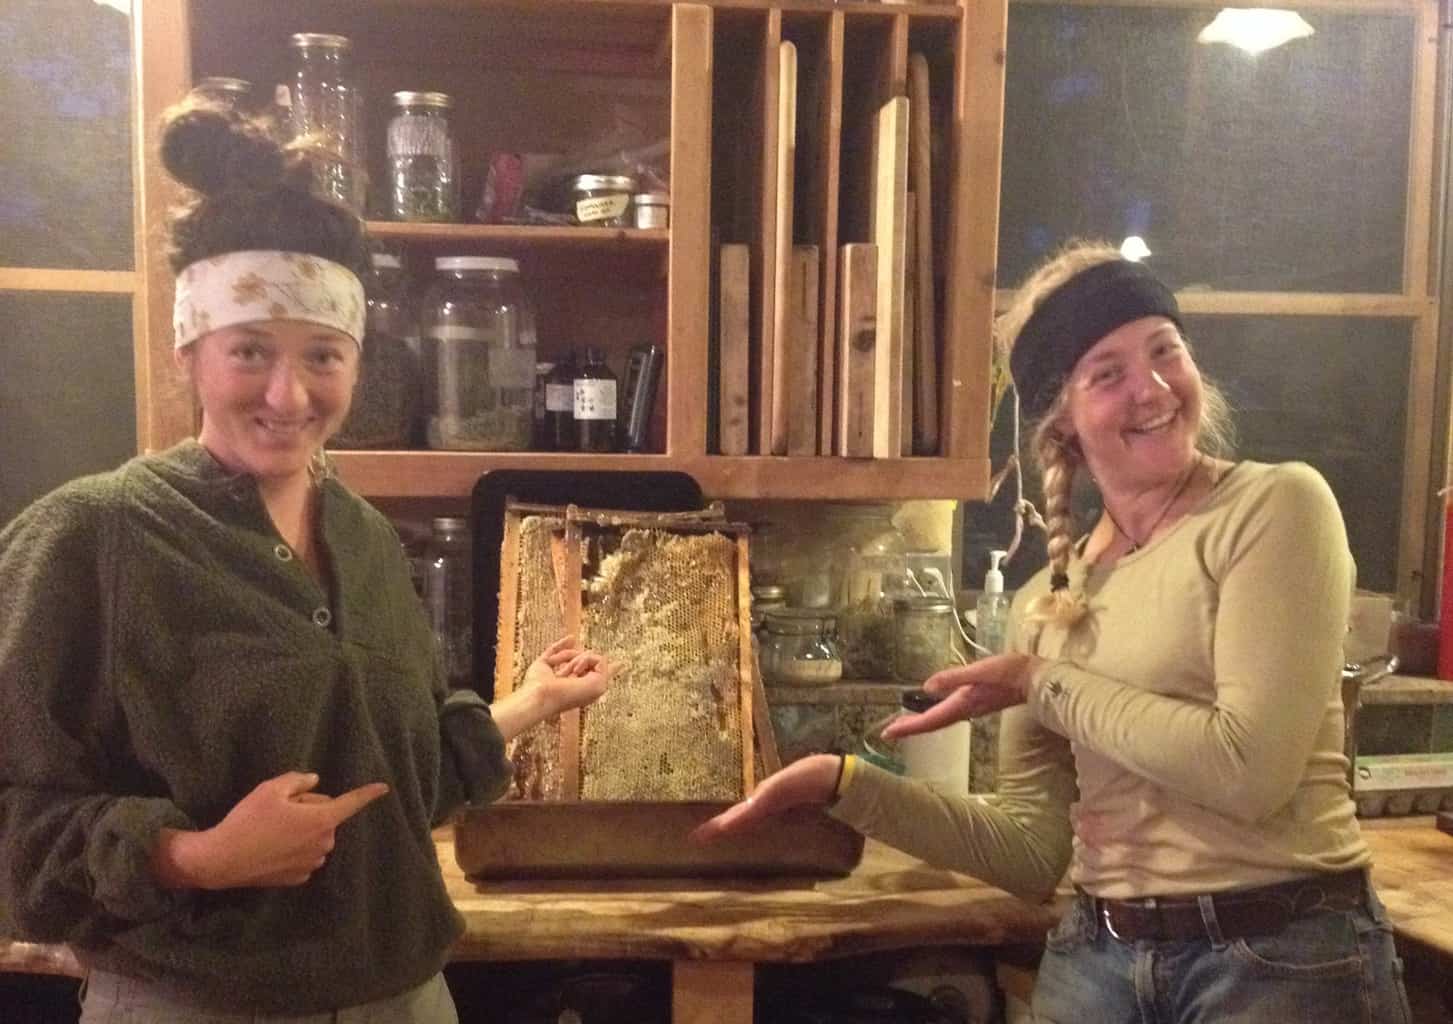
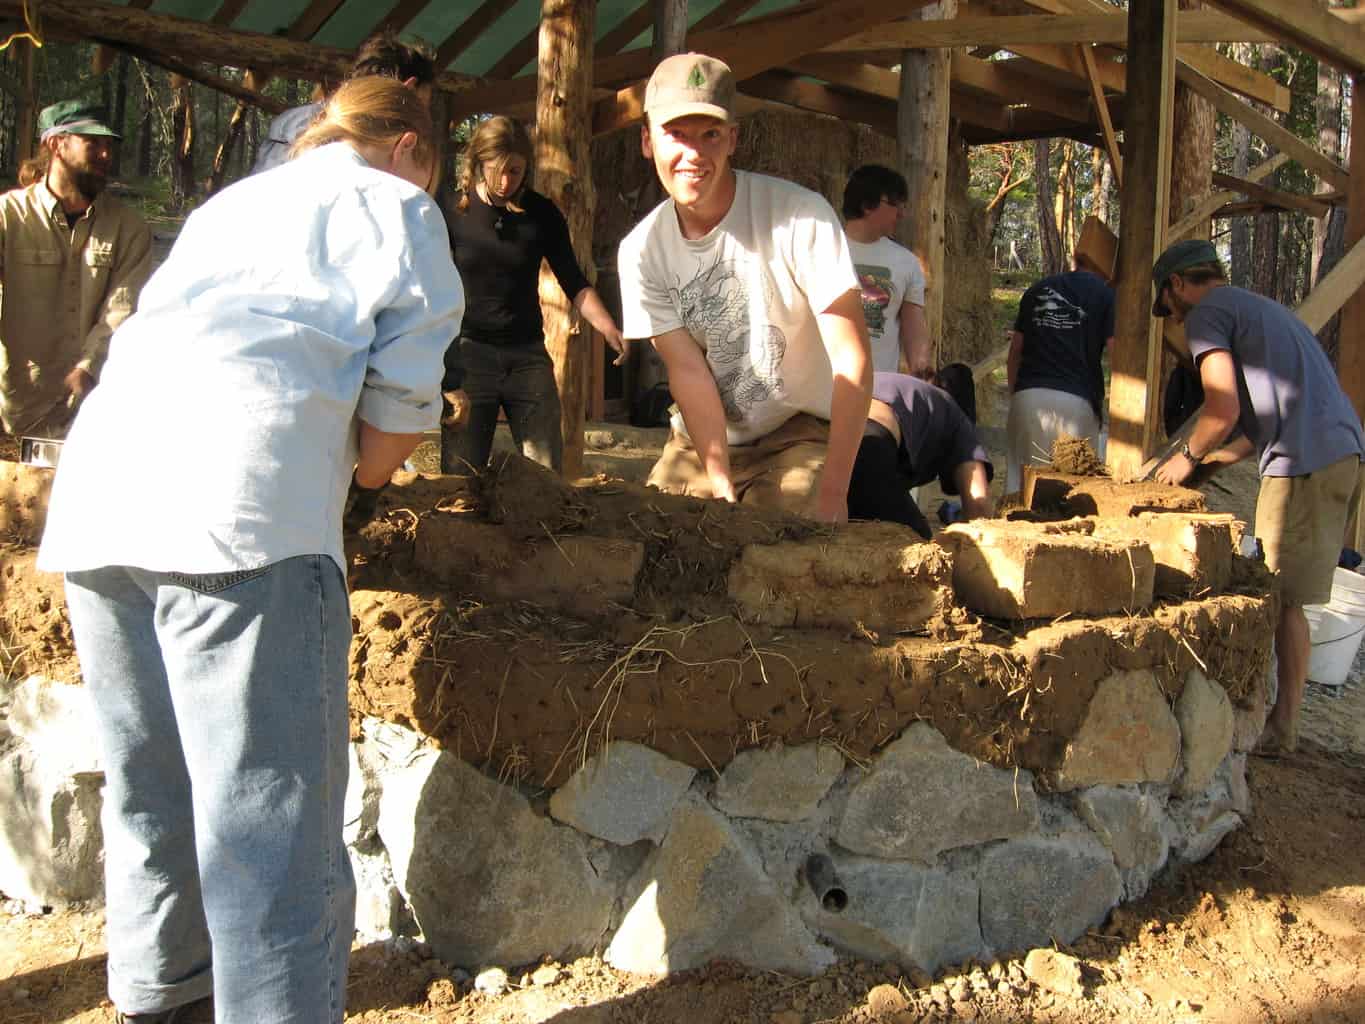
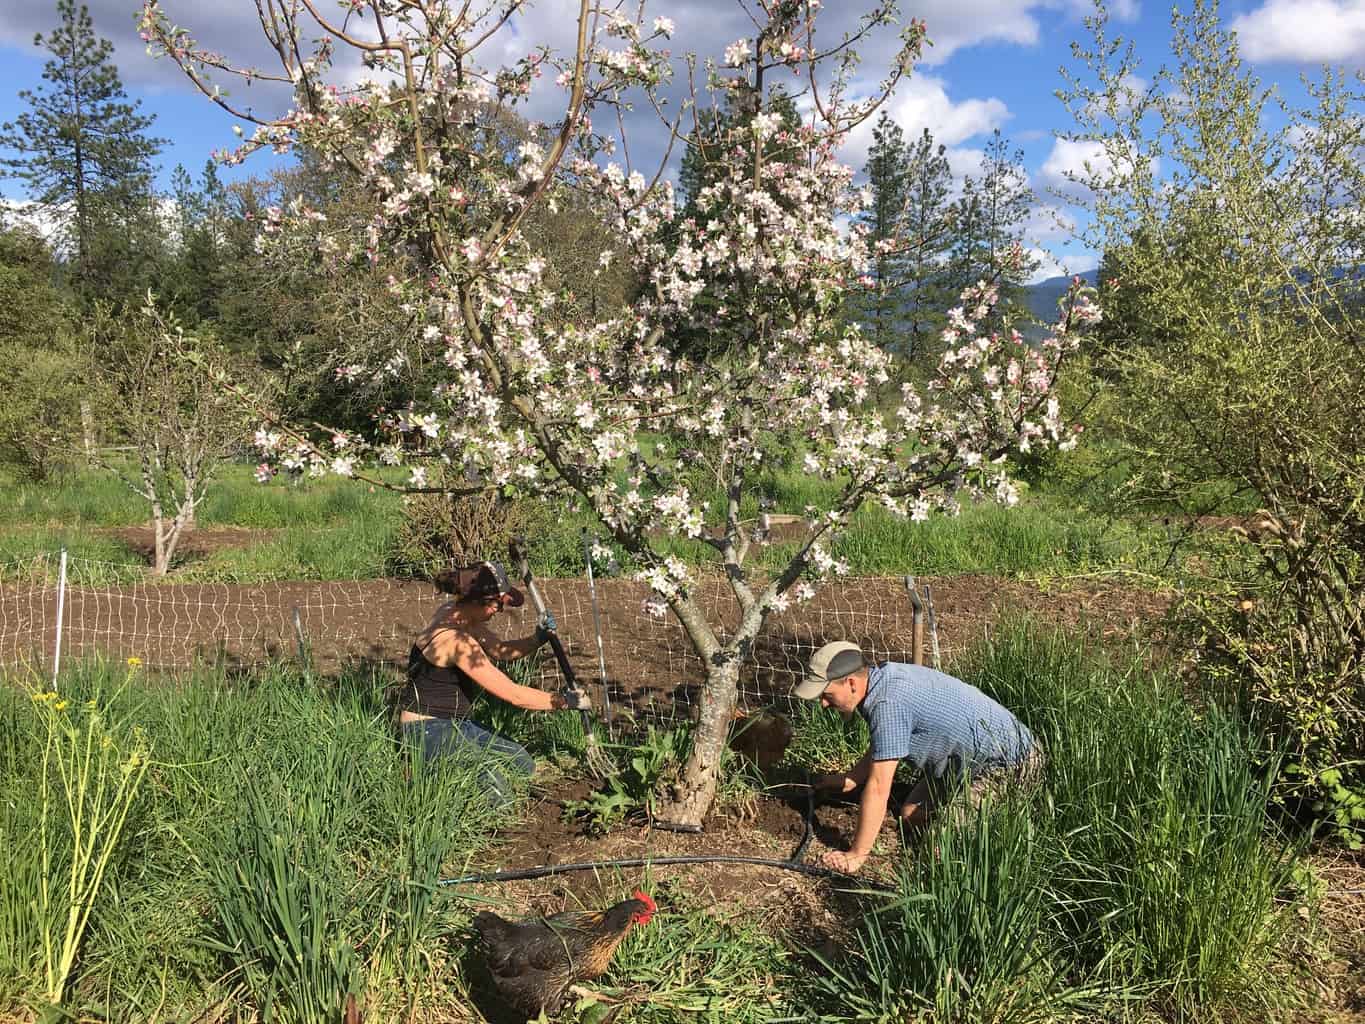
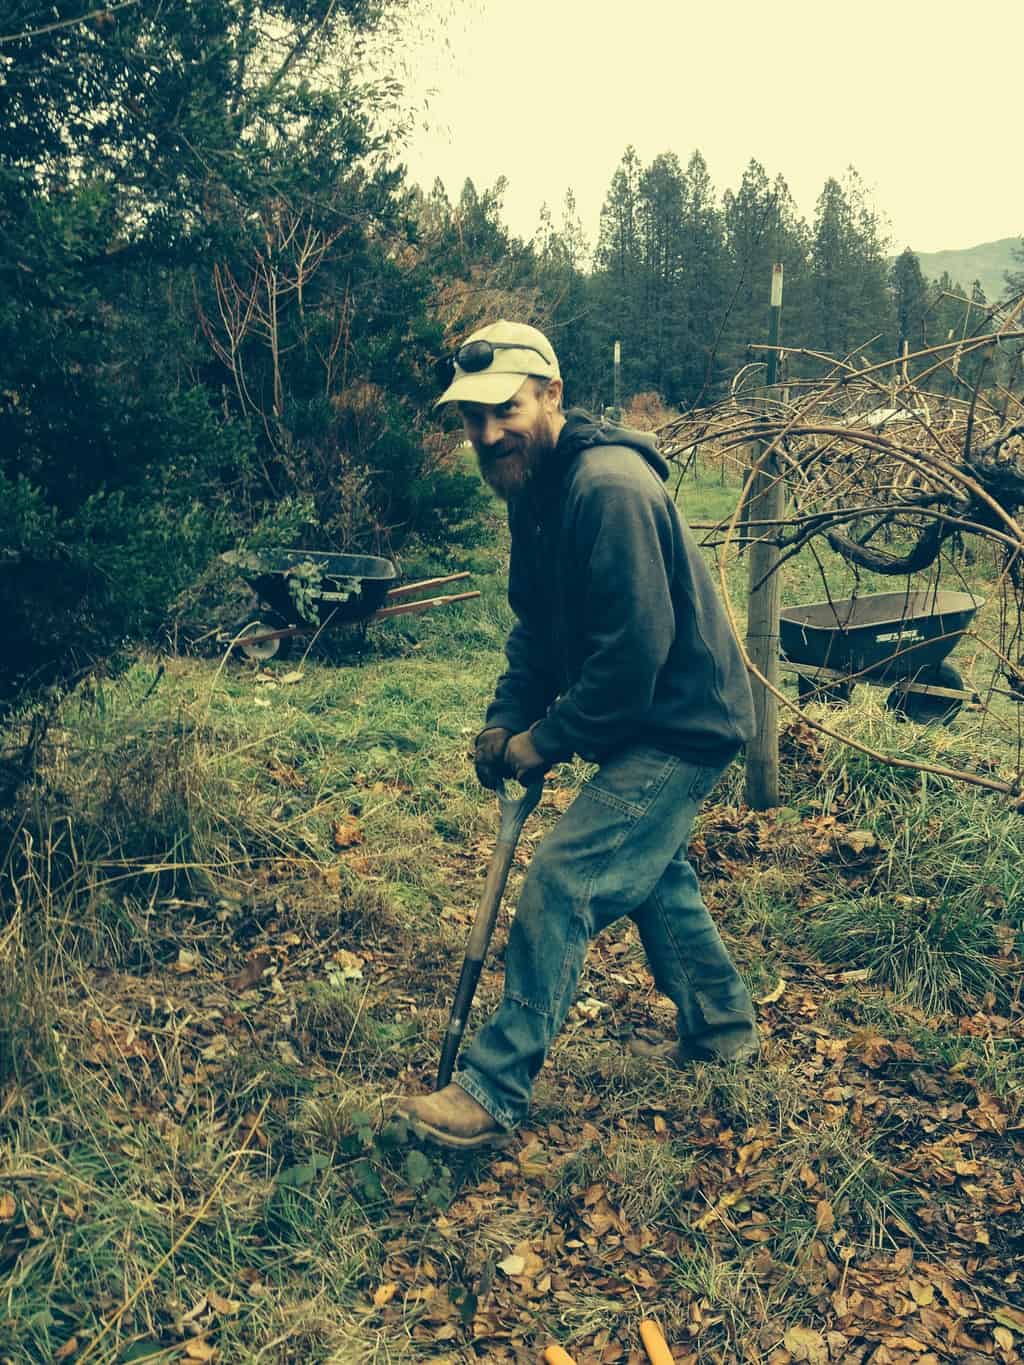
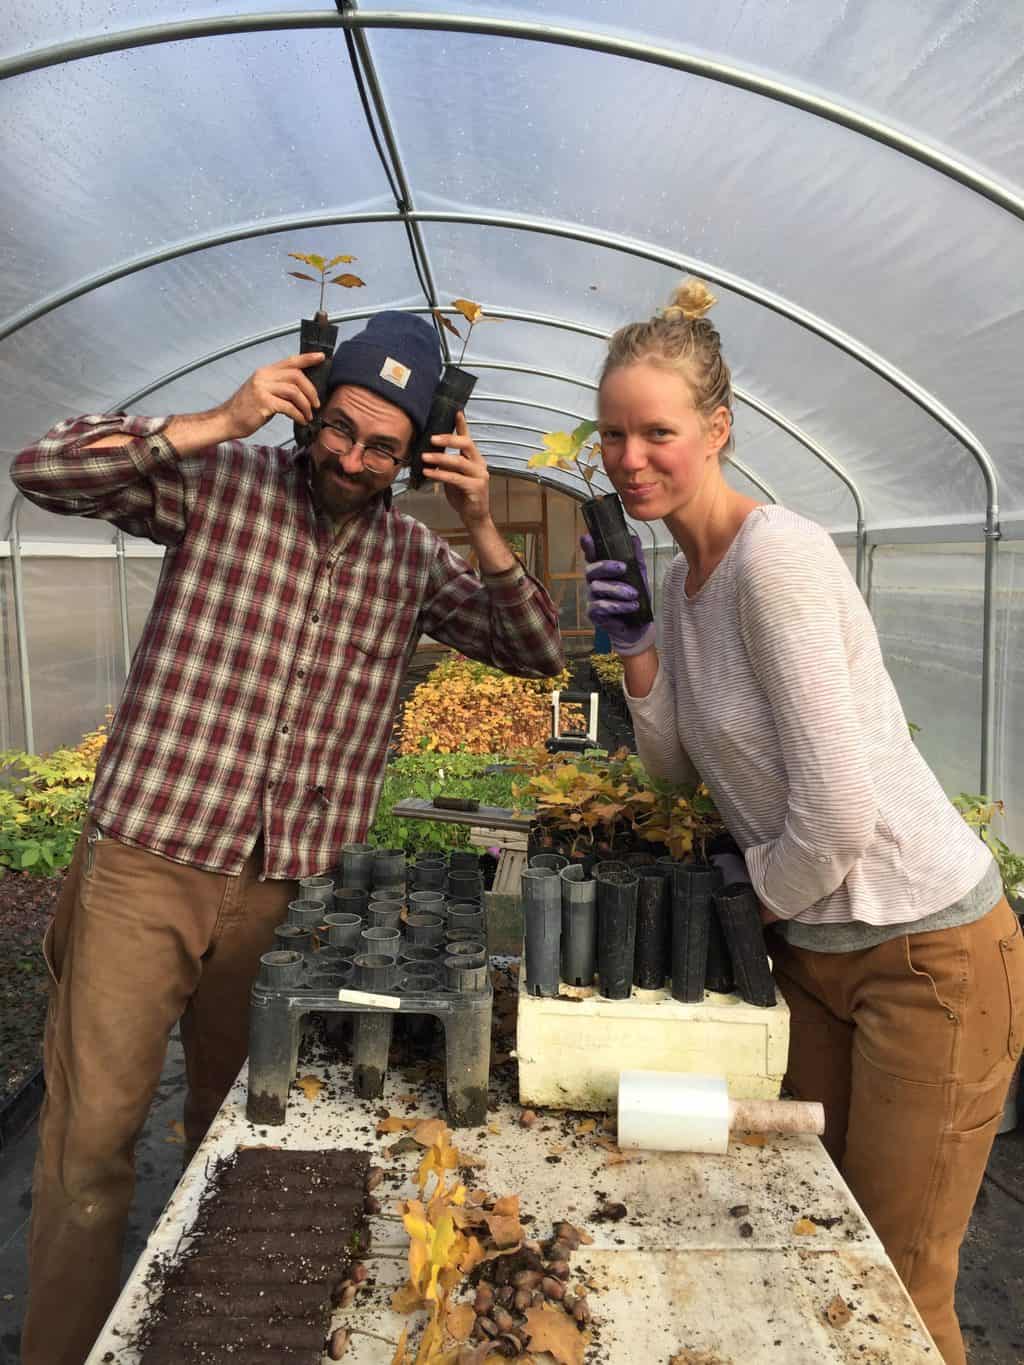
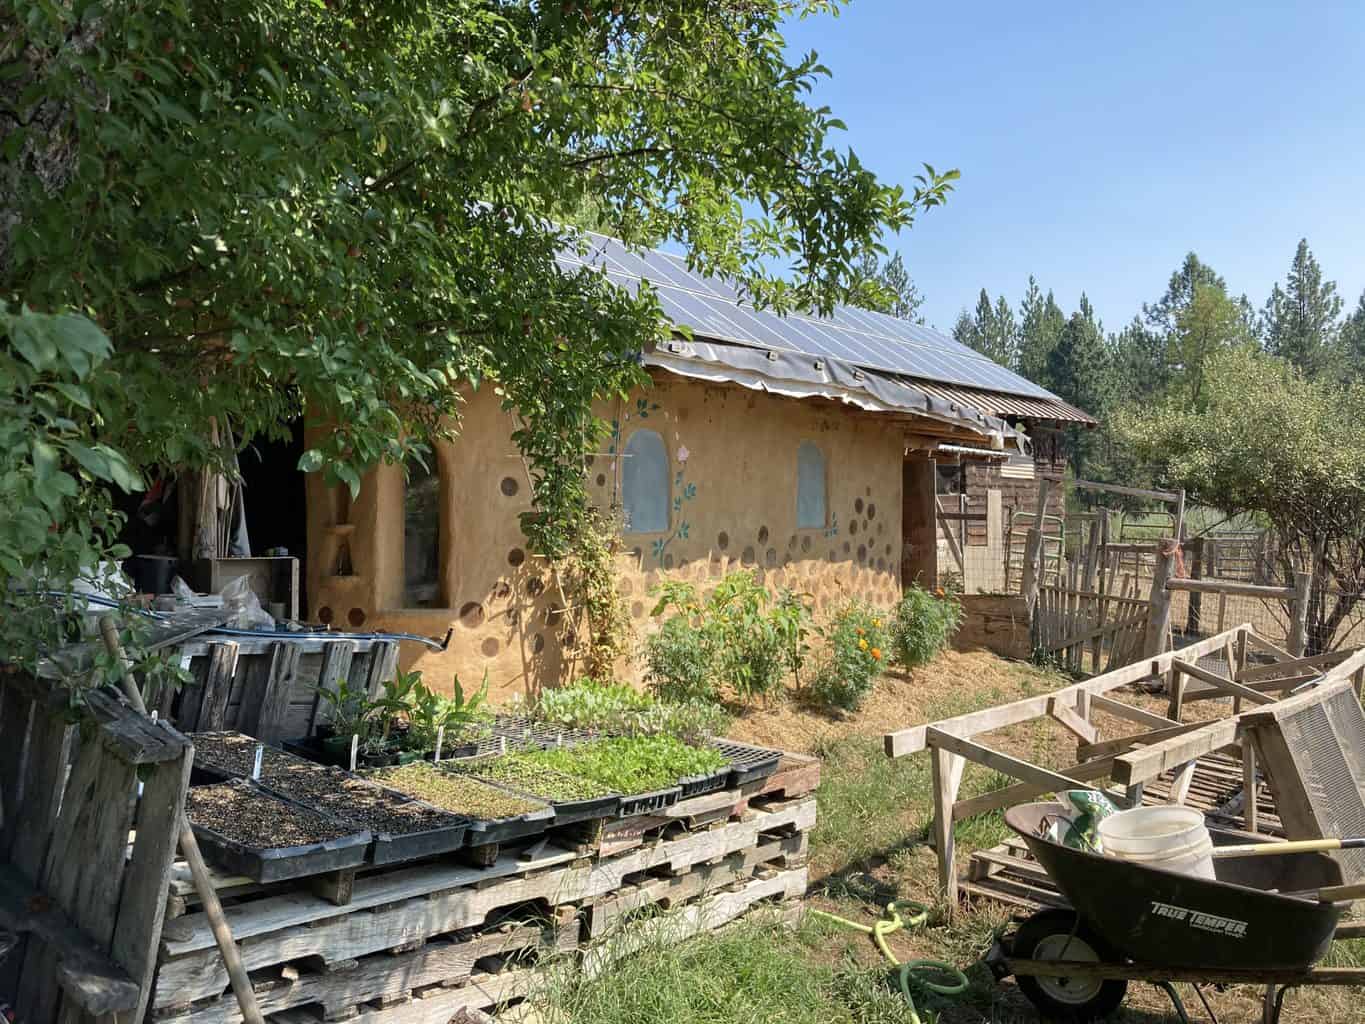
This season we also had the opportunity to host two amazing interns for our six month training program in Organic Farming, Environmental Education, Homesteading, and Natural Building.  Kristy and Andrew joined us in April after living in Alaska for the last several years.  Through cold rain and hot sun they joined us in the fields to lead children’s groups, woke early to harvest greens for the CSA, and focused intently to make the final coat of plaster on the new farmstand just right.  They also participated in the Rogue Farm Corps farmer-training program, each weekend attending a tour and class at a different local farm.  This year for the first time these classes were offered for college credit, making the experience even more valuable for its 20 plus participants.  I also had the opportunity to teach two classes to this intern group: one on cover crops and crop rotation, and another on natural building.


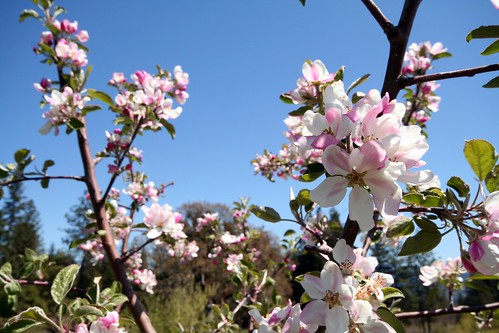
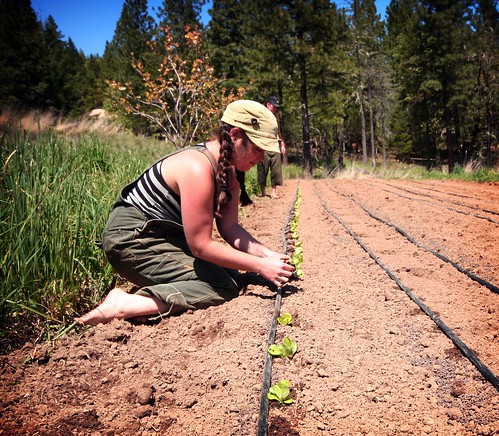
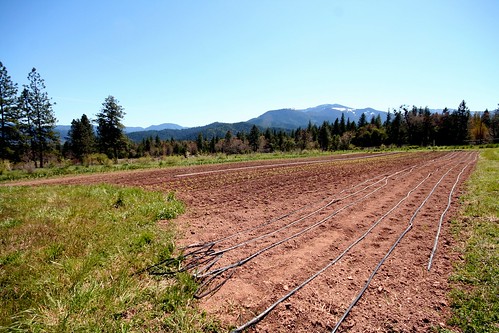
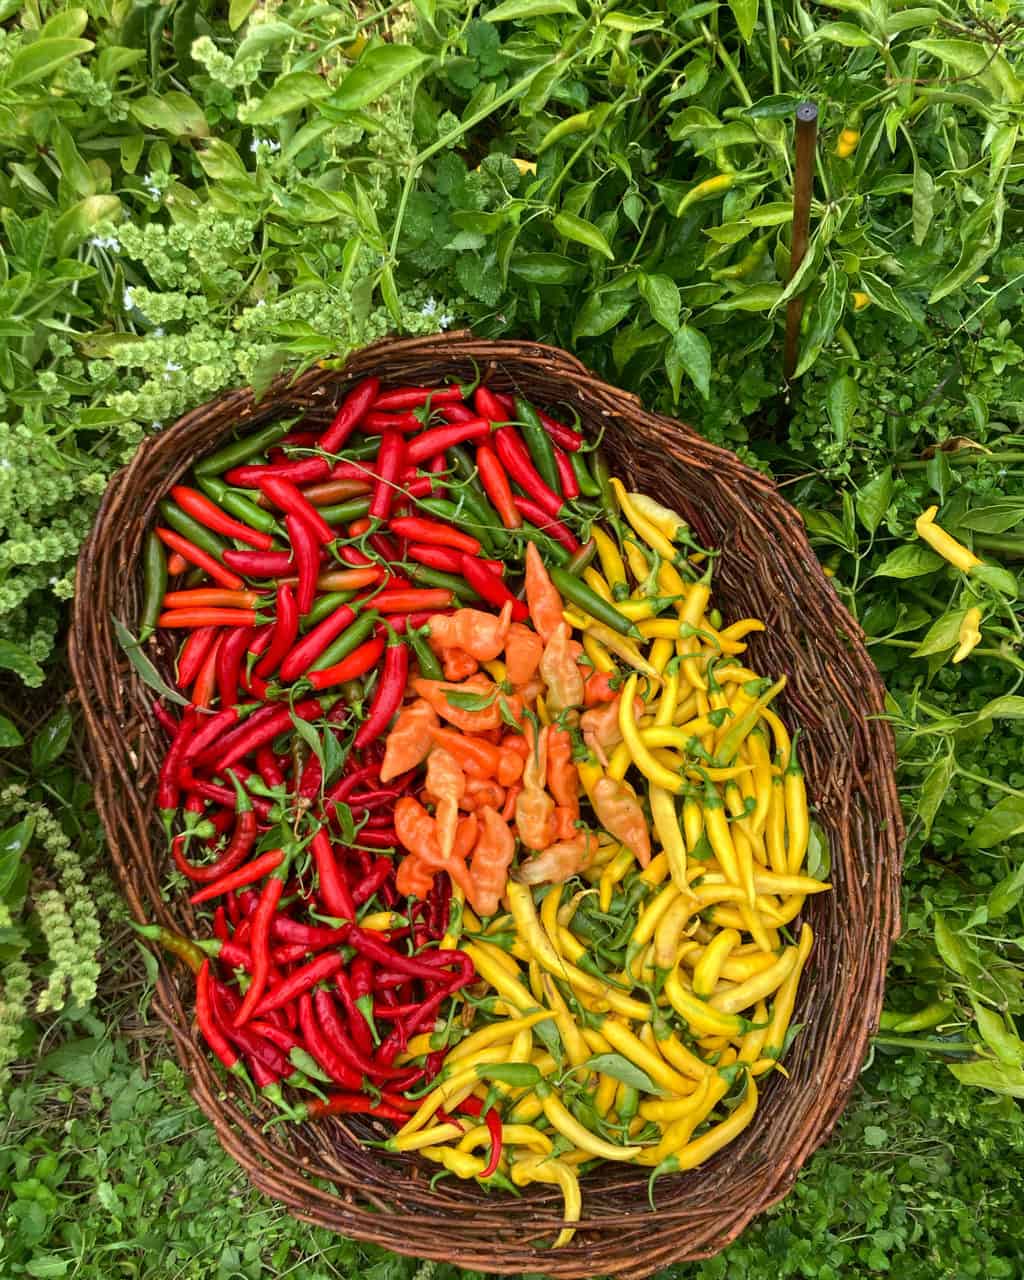
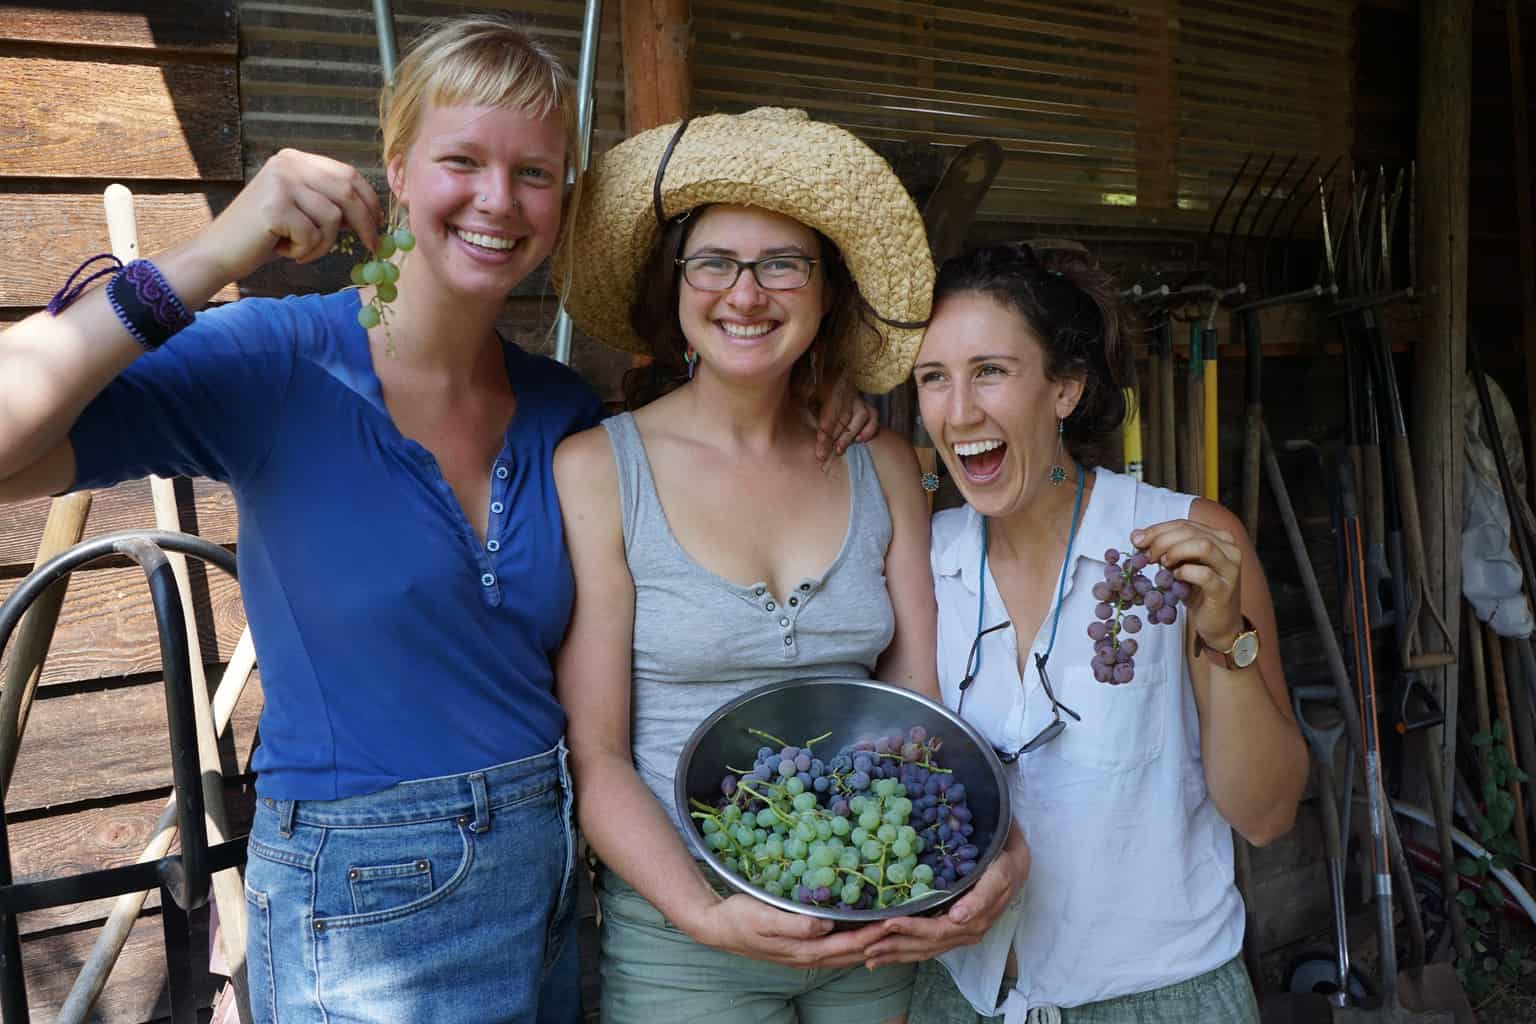
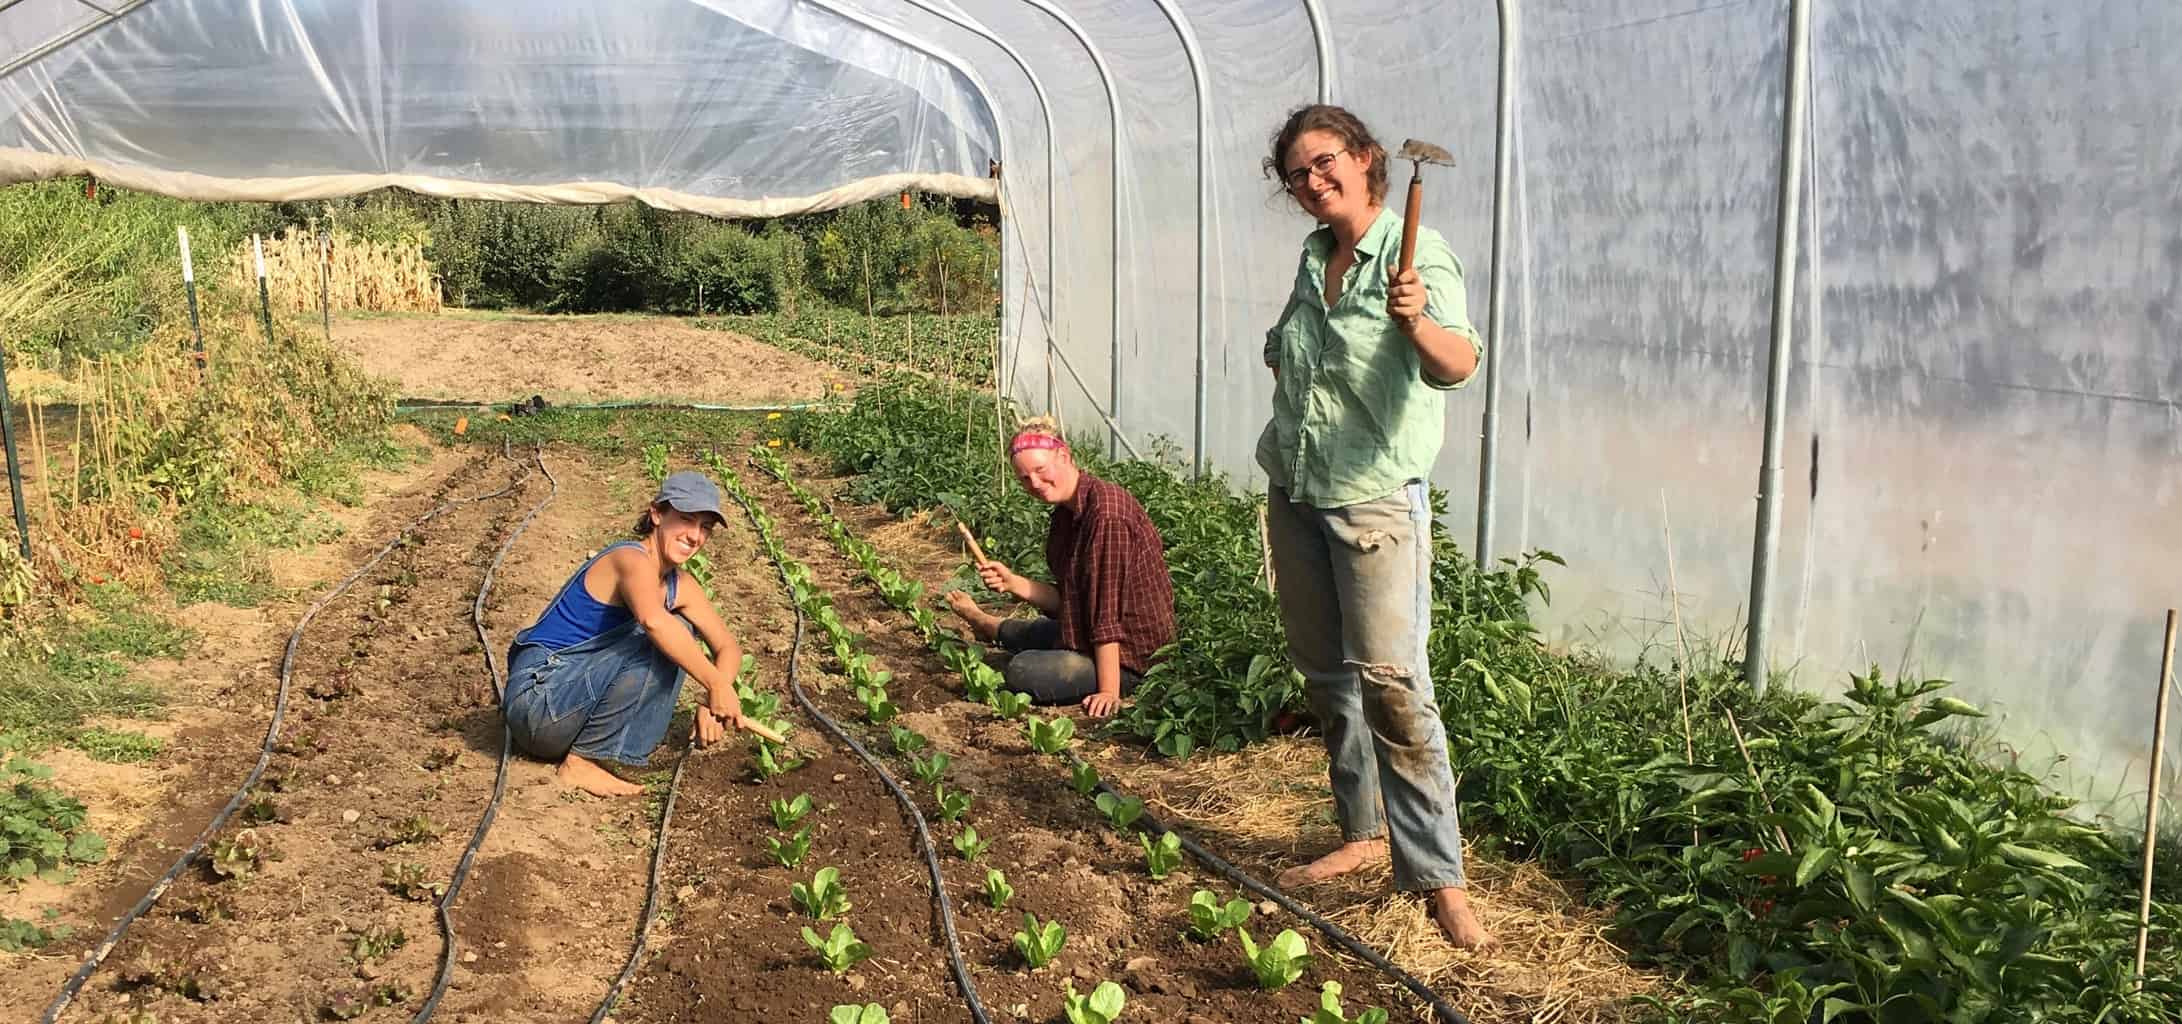
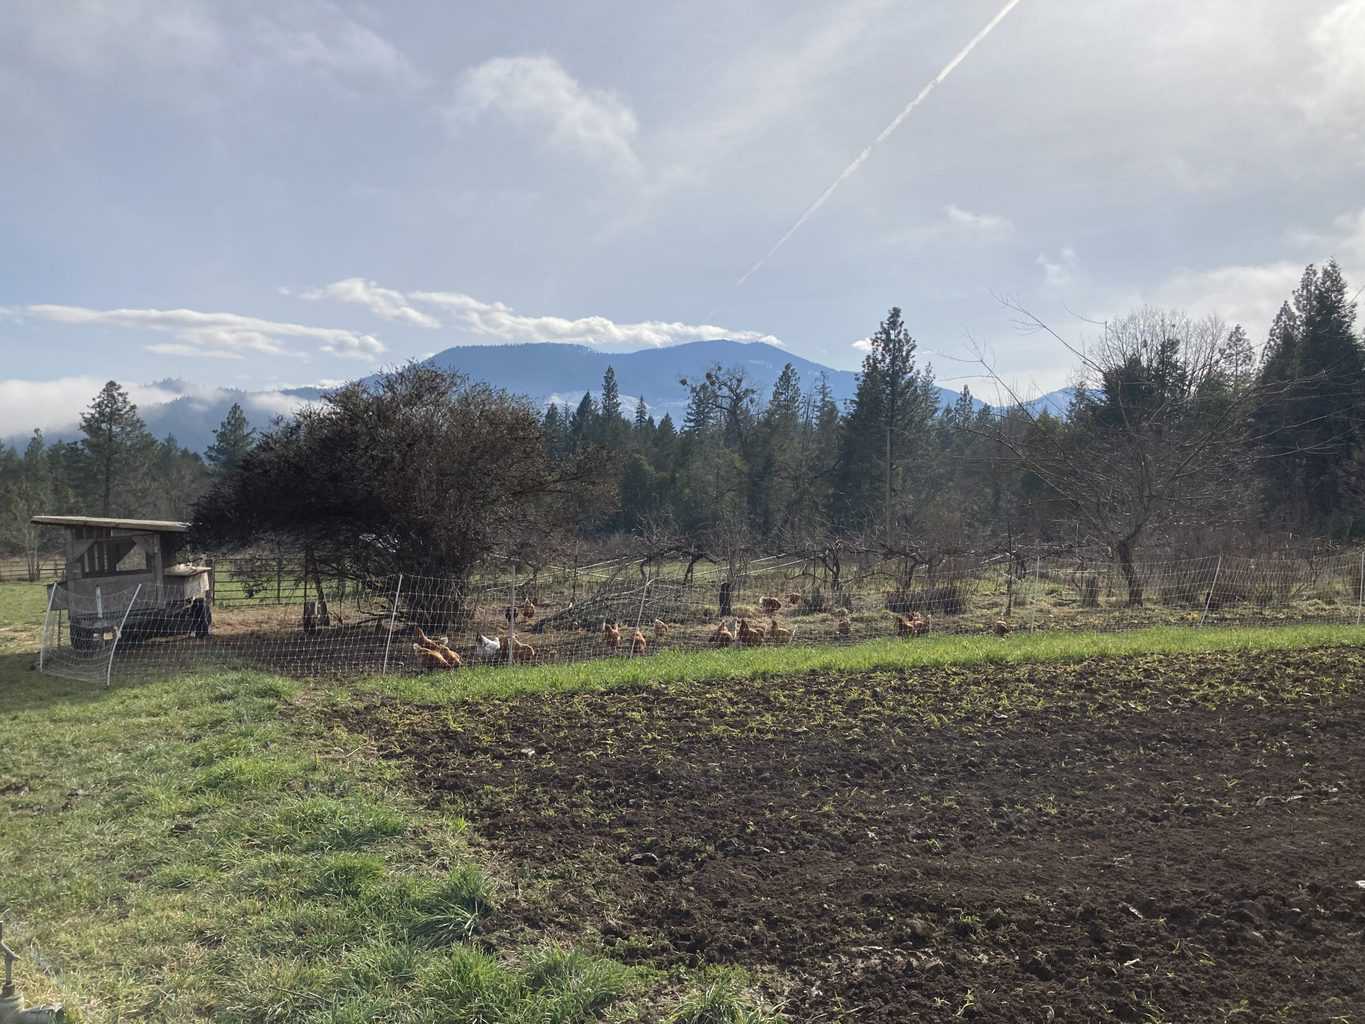
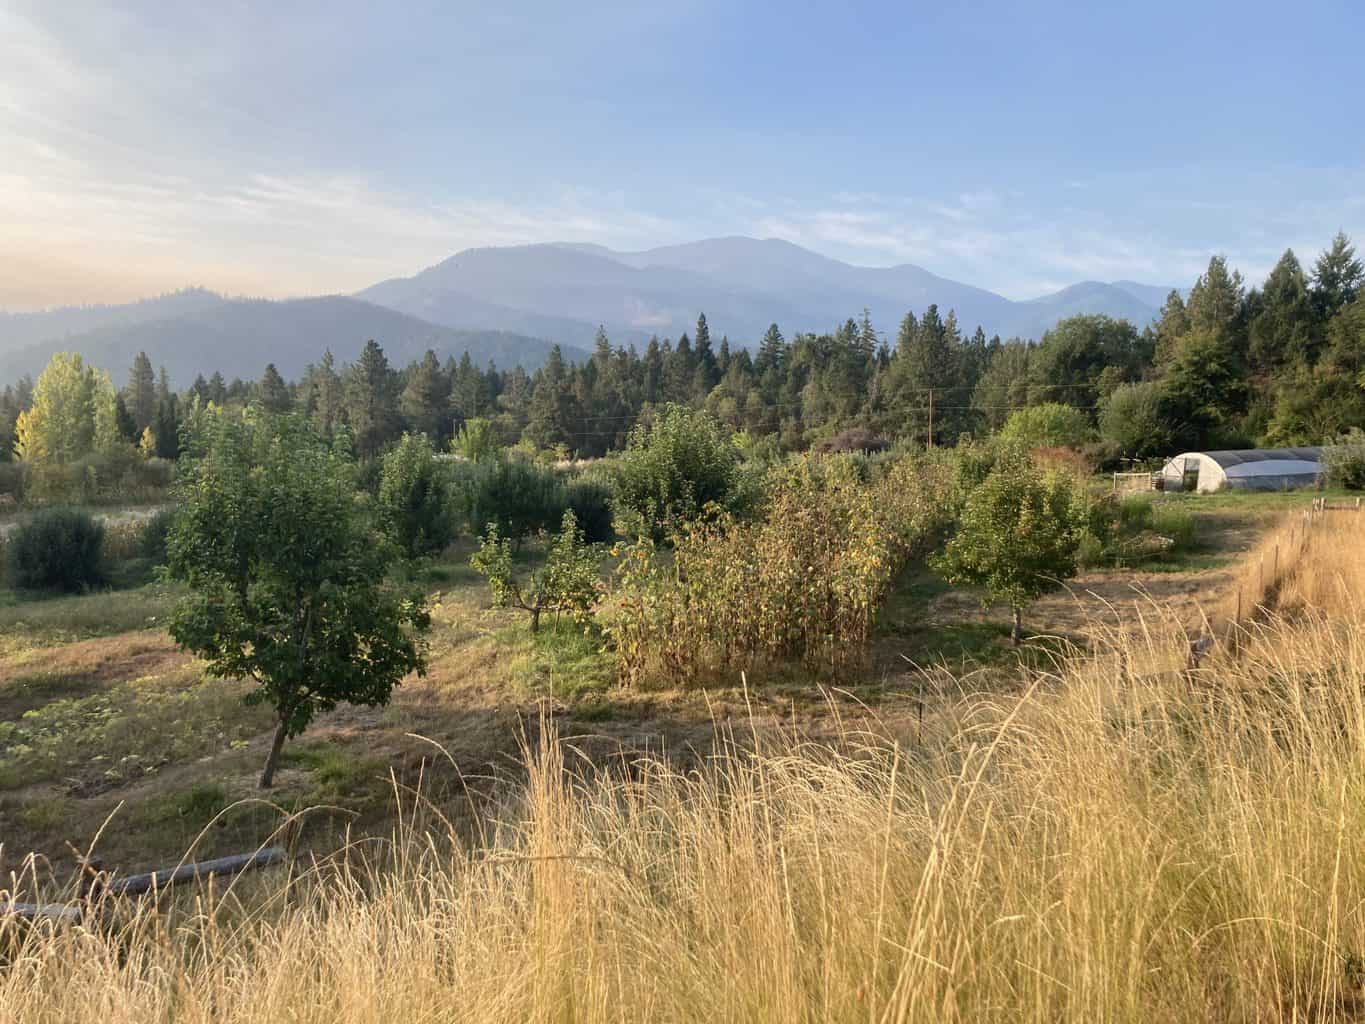
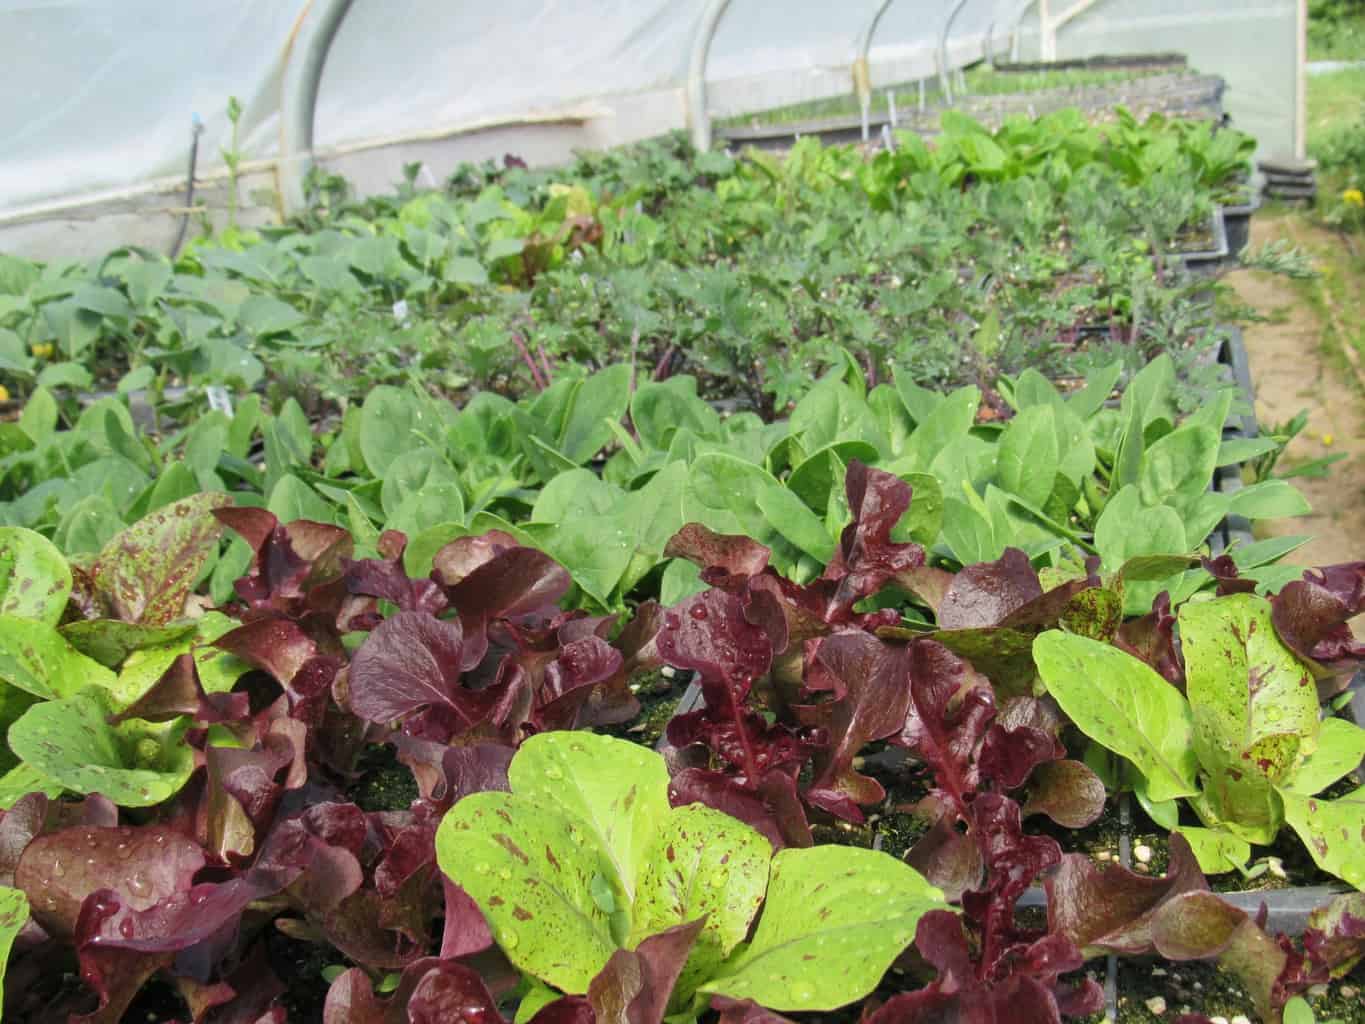
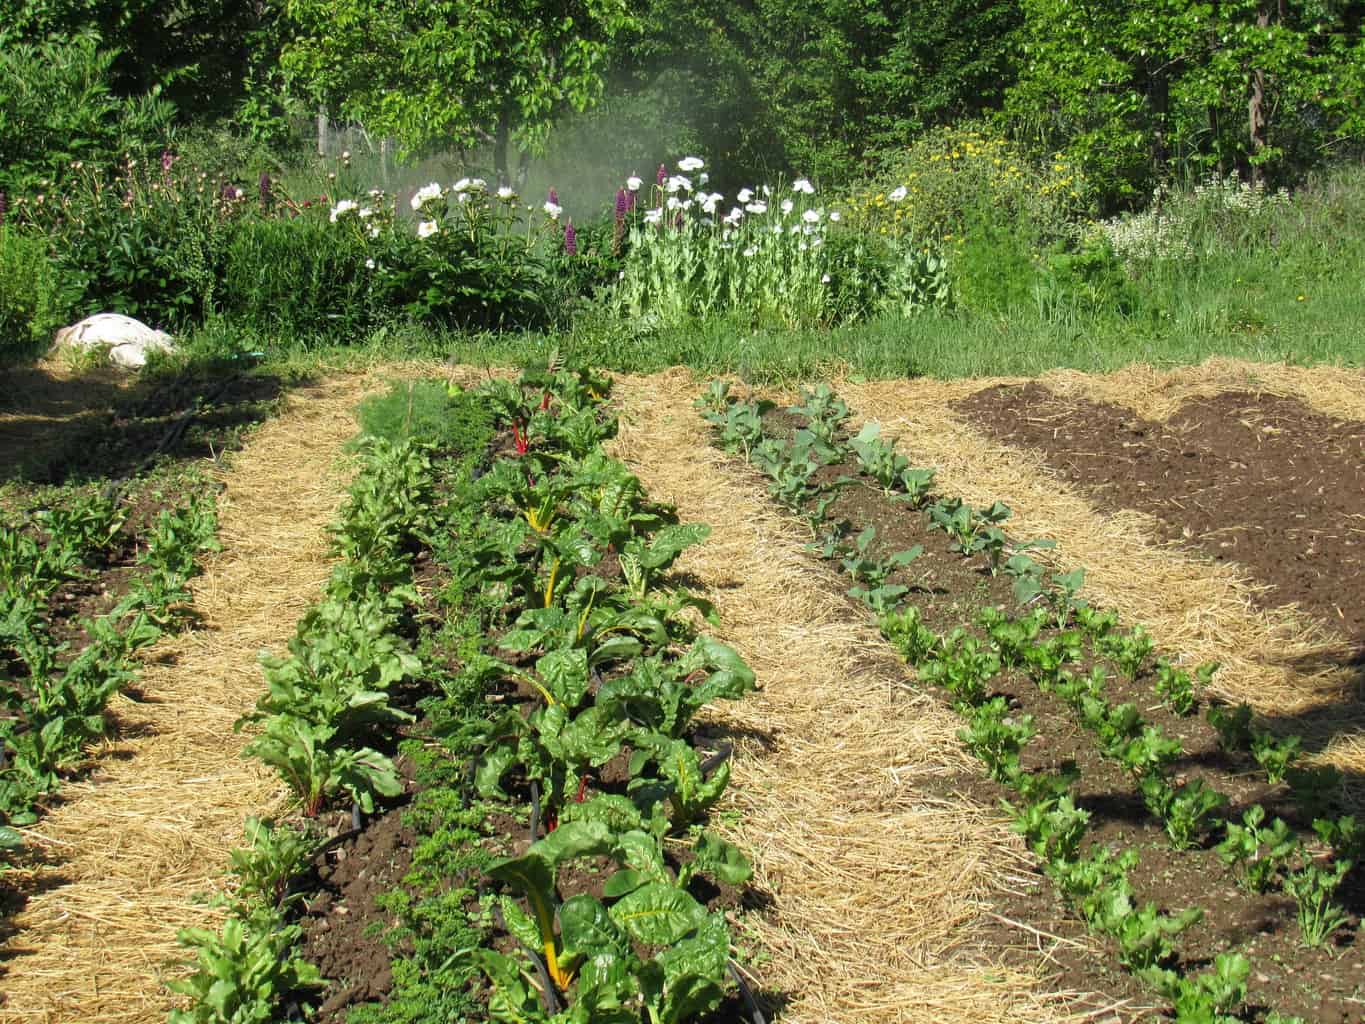
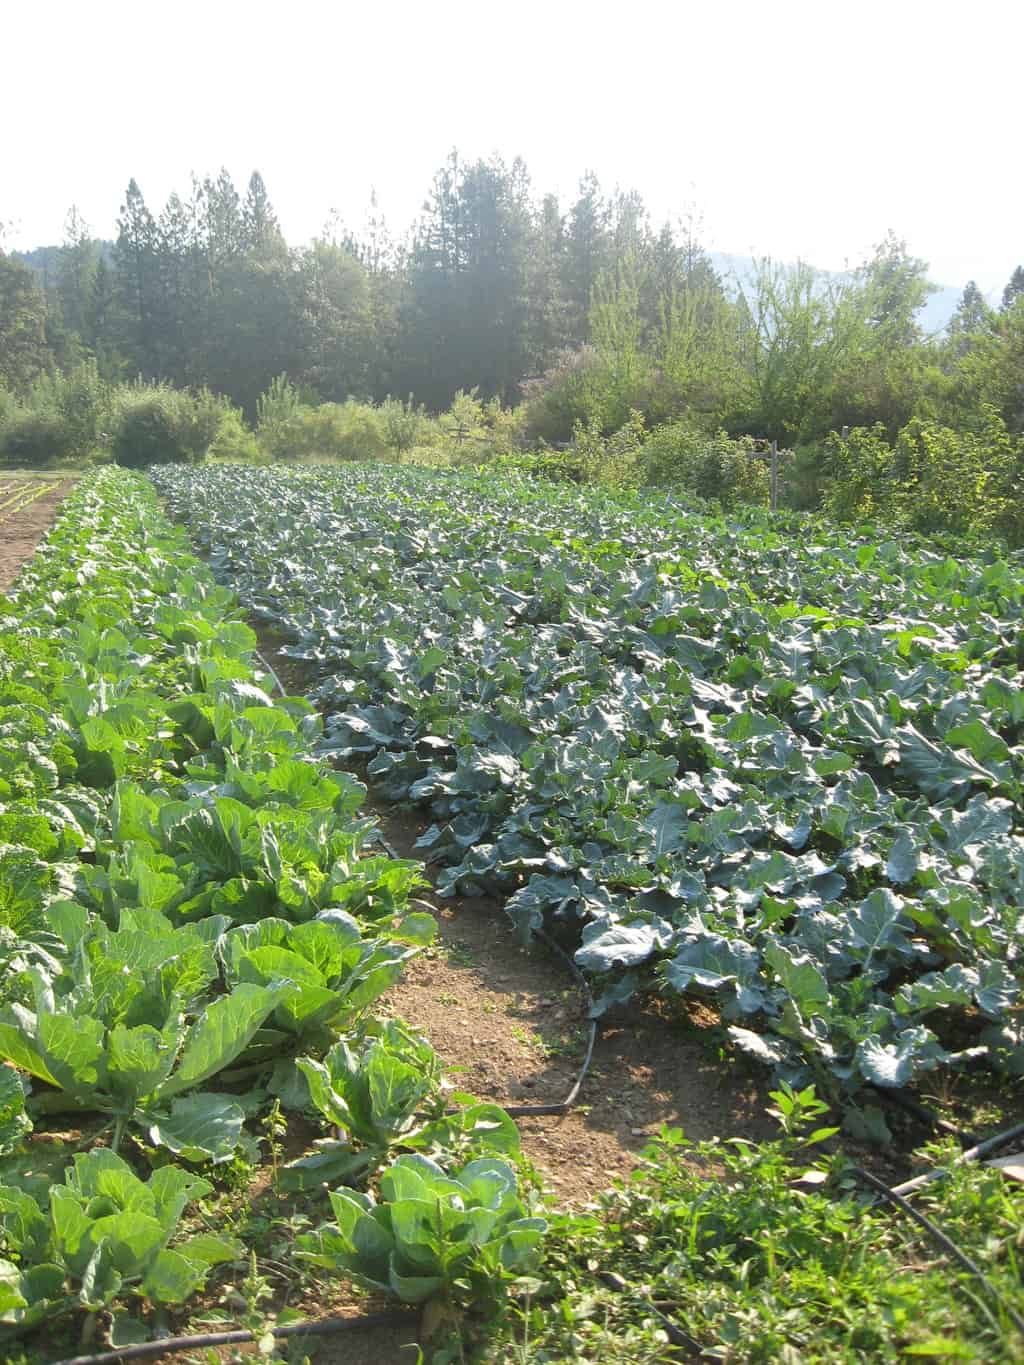
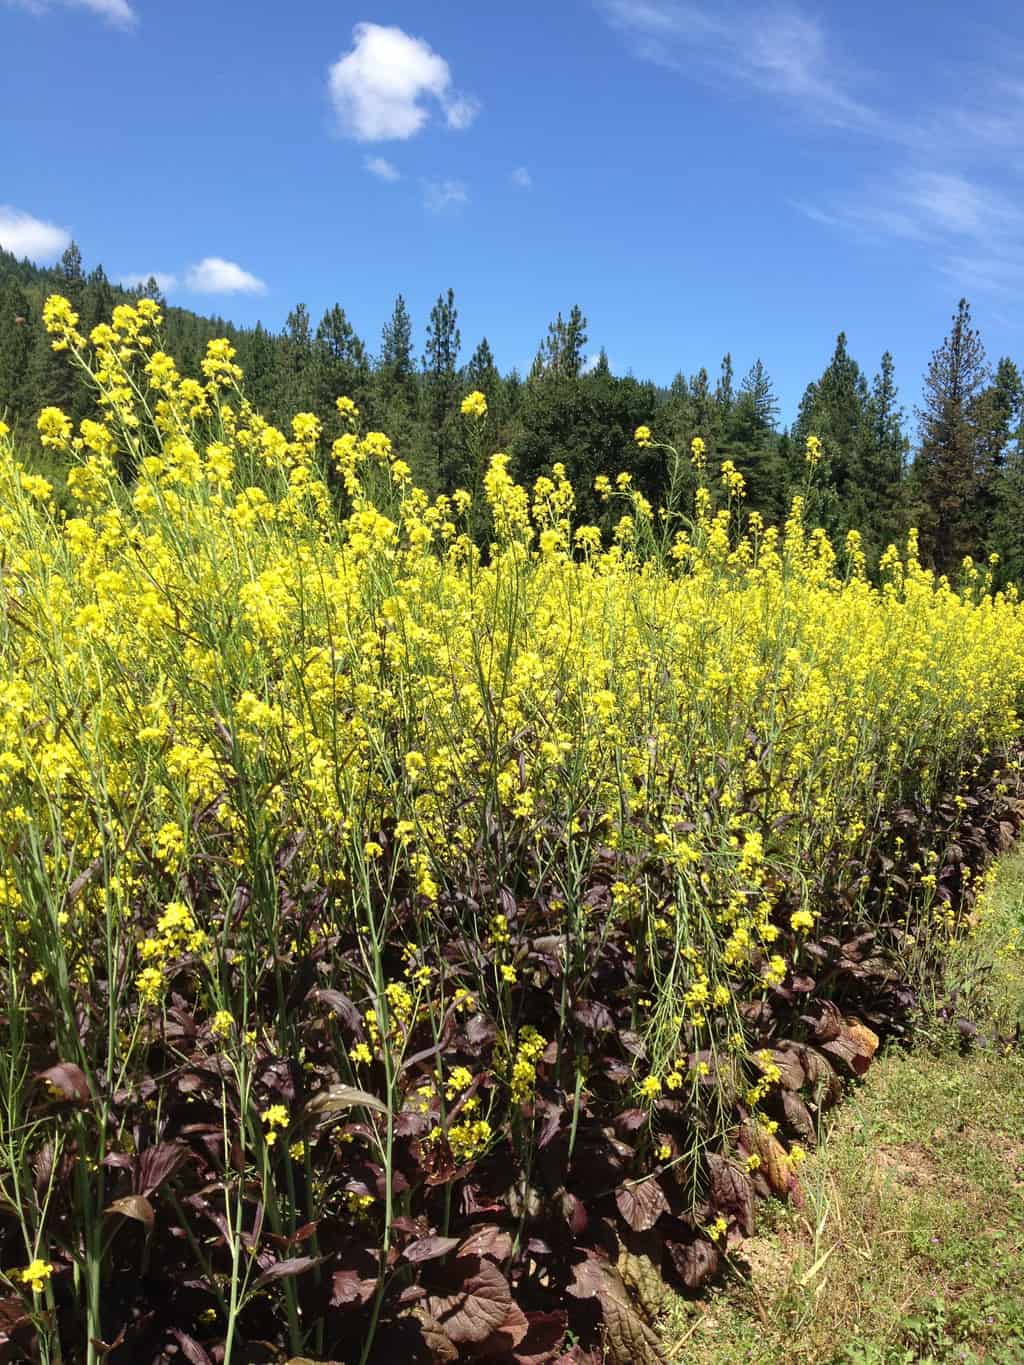
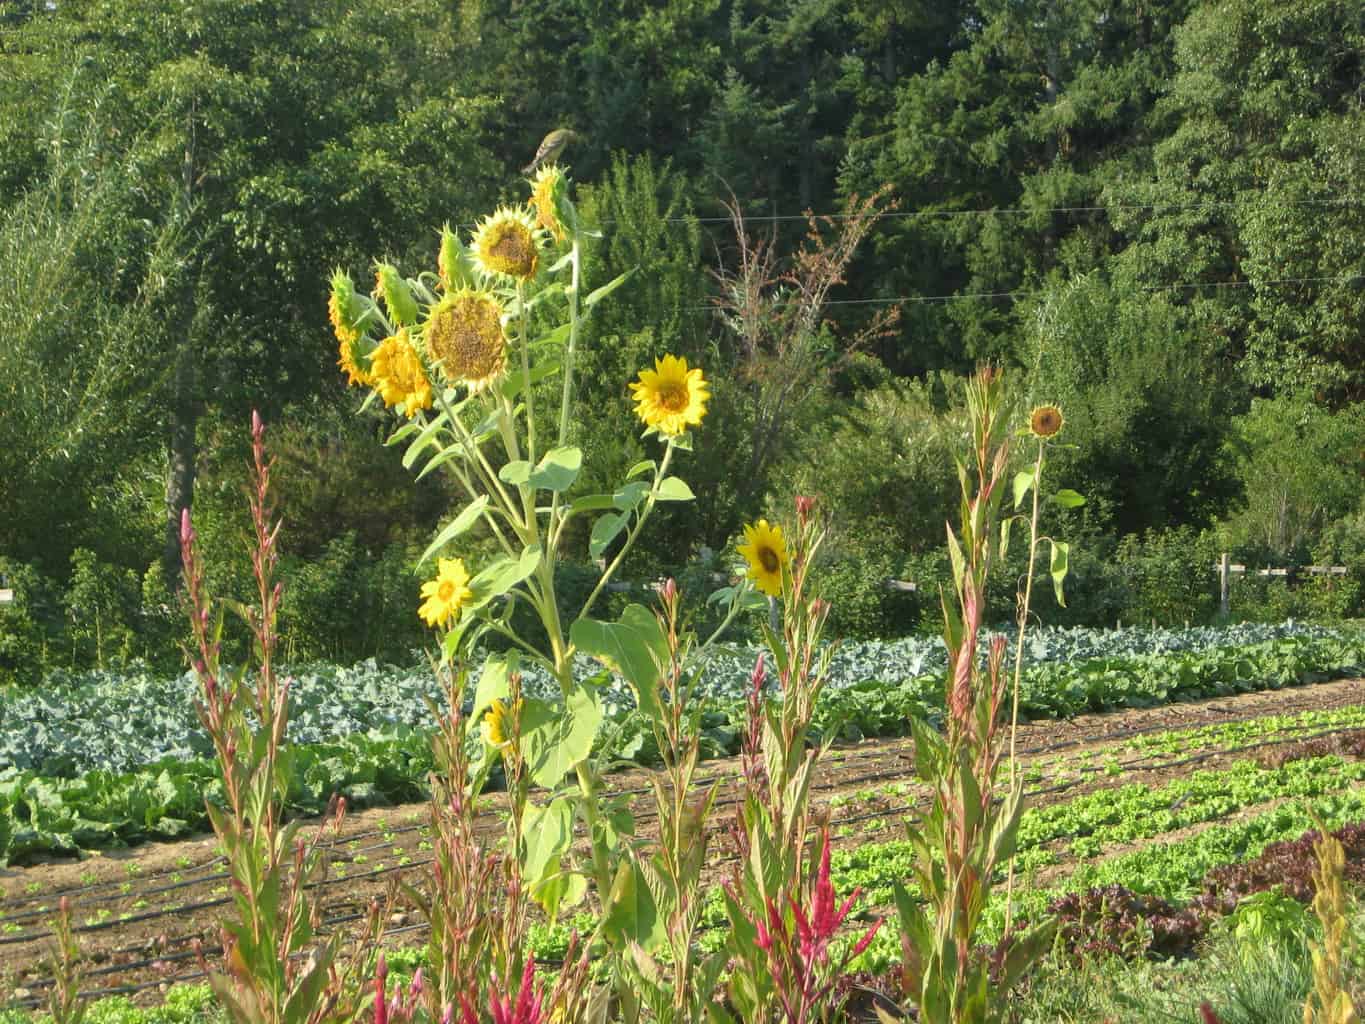
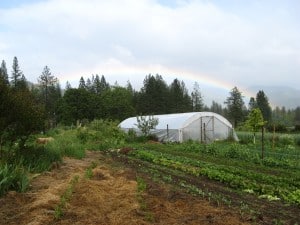
The Farm itself also had a bountiful year; producing record yields of apples and pears, and providing our cooperative CSA and the Williams Farmers Market with beautiful and abundant fruits, greens, roots, and seeds.  With the help of a grant from the USDA we were able to install a 2300 square foot greenhouse to allow us to produce more year-round food for local families.  Next year we will be growing indoor peppers, tomatoes, and ginger during the summer and salad greens and spinach all winter long.  Our fields also produced several noteworthy seed crops this year for two organic seed companies: including tatsoi, lettuces, tomatoes, and zinnias.  As I write this they are waiting in the barn for me to finish the newsletter and get back to cleaning seeds and sending them off in the mail.


Organizationally 2012 was a productive year as well.  Our board of directors had an informational training session in the early summer with a statewide non-profit consultant.  We picked up a few new tools, and were also pleased to be affirmed that in her eyes we were already doing an excellent job of stewarding the non-profit for the future.  Without our dedicated volunteer board White Oak Farm would not be the stable and successful organization that we are.  Many thanks to James Haim, Eli Sarnat, Wendy Reordan, Jenny Kuehnle, and Eric Hansen for all their good work.


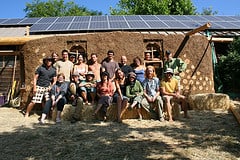
With ten years behind us, I find myself deeply thankful for all the dedicated people who have given so much to White Oak Farm and our broader community over the last decade.  Giant thanks go to my co-founders Eli and Stacey who stuck with the project through the less-glorious early years of hard work.  All our board members, interns and staff over the years have been the backbone of the Farm, and most have the dirty fingernails to prove it.  There have also been hundreds of volunteers who have done everything from leading groups of kids, to mixing cob, to producing our newsletter whose selfless gift of their time has been indispensable.  And of course there are the many generous foundations and individual donors who have cumulatively contributed hundreds of thousands of dollars to this project.  None of our work would be possible without this financial support.  Thanks also go to you, the readers of our blog, who read our stories each year, send a check, share our work with friends, or send us good thoughts in your own unique ways.  We appreciate your time and support, and hope our work and words help brighten your day.  With the close of another great year on the Farm, we look back with fondness, while also looking forward with excitement and anticipation for the many new opportunities that await in the years and decades to come.

Posted in Daily Happenings | Comments Off on 2012 Year in Review

How to prepare a garden bed (the french bio-intensive method)

Spring is here, the ground is thawing, and all the seeds and seedlings are asking to be put into the ground. The problem is how do you properly get the soil ready to receive the plants, so that they grow to be productive, easy to manage, and healthy. Well look no further, because today in our blog we will be talking about the method we use at White Oak Farm (in our home garden- no tractor section), and the variations you can take. So whether its single dig, double dig, or side fork, you will see why it is called a garden “bed” because by the end the soil will be so fluffy and nice you will want to lay down in it.

Step One: Organize your tools and supplies.

Tools that you will need: d-spade, garden or tilthing fork, garden rake, wheel barrow, compost, string gig, and string. It would be helpful to have a hori-hori or trowel, a tape measure, and a good pair of gloves, and a friend to help you dig. Also don’t forget your plants, and a copy of the book How to Grow More Vegetables by John Jeavons. It is also very important to sharpen all your tools before you start, and if they are not clean, give them a quick hit with a wire brush or some water.

Step Two: Plan out the bed shape and size.

We use a string jig to ensure that we will maximize the space in our garden. We built the jig out of a 2×4, two  pieces of rebar, a couple of u-nails, and a lot of different shaped screws and nails (which you will see later). The jig is 48-inches long (which is the width of the bed) and the bed length is approximately 50 feet long. This is a long bed, and will allow us to plant many different types of crops in one the bed.

I usually leave about 12-inches in between beds to walk. This is totally up to the individual gardener, but often times a foot is not enough space to really bend over and work the beds, for many people.

Step 3: Skim away organic matter

We are ready to get out our tools and really start working. In this step we will be taking out all the organic matter from the soil that we are about to work. If it is a weed, last year’s crops, or even cover crop it needs to get out of the bed. We compost most weeds and all cover crops with the exception of some noxious weeds that wont die in the compost pile (i.e. bermuda grass, comfrey, oxalis, bind-weed, etc.).This is also a good time to remove stones.

When skimming it is important to note that you are not digging up roots, just skimming the organic matter away from the soil. Try and keep your spade as flat as possible and parallel to the ground, while not hurting your back and body. This is the most important thing to keep in mind during the whole process: Pay attention to your body, and listen to what it is telling you. It is so easy to hurt your back especially if you are not using the proper form.

Step 4: Rake and remove the plant matter

This is a great time to get the wheelbarrow and fill it will all the plant matter and take it to your compost pile. You may need to skim and rake, and then skim again before the bed looks bare and is ready to dig. Rather then doing a perfect job the first time, it will go quicker to skim a couple of time. 


Step 5: Apply Compost

Depending on how good or bad your soil is you will be adding a lot of a little bit of compost. It is always a good idea to add compost on the first dig of the year. Our soil is high in organic matter, and all of the essential nutrients, but it is thick, hard clay. Compost will help add air/pore space to the soil as well as organic matter. There is never a reason not to add compost, unless you don’t have any. Compost helps improve every aspect of your soil quality.

We only added one barrel full for the 50 ft. bed, but we would have like to do 2 loads. By the time we sprinkled a layer on top of the bare bed, it looked like a fine mist.

Step 6: Edge the Bed

In order to ensure that the entire bed gets dug and aerated it is a good idea to take your spade and dig directly beneath the string. This is called edged the bed. Keep in mind that you are not actually digging, but just creating a line, and slightly rocking the spade back and forth before you dig.

Step 7: Dig a trench

You are now ready to start your diggin’. It doesnt matter which end of the bed you start on, although if you have a slope I would start at the top, rather than the bottom.

You want to create a trench. The length of the trench will be the width of the bed, by one foot deep, and one foot wide. You will remove this soil and put it in a wheelbarrow. The amount of soil you remove will usually be about a 3/4 full ‘barrow. Take this wheelbarrow of soil and move it to the other end of the bed. You will fill in the gap at the end with this soil.

Step 8: Dig, Dig, Dig!


The digging motion above you will repeat about 10,000 times over the next hour of digging. To explain in more detail you are using your spade to take a chunk of soil and move it into project it forward into the trench. My mentor Orin Martin, used to always say, the bigger the chunk and the higher the toss the more loft your bed will get. So if you take a small chunk and just push it forward your bed will not be raised very high, but if you take a huge chunk of soil and throw it in the air you can get a bed raised 4 to 6 inches.

Also a good digger will not invert the soil. Try to keep the layers in tact when moving the soil forward. You do not want your top soil buried a foot deep and your hard pan clay on top. This is extremely hard to do but you are about to have lots of time to practice not inverting the soil layers.

Step 9: Tilth

You mwill notice that the digging you have done is making the ball into dirt clumps and you are getting big chunks that are not breaking apart when you throw it. This will always happen, but will happen to a larger degree if the soil is heavy clay. If the clumps are really sticking and hard to break up it is a good indication that the soil is/was too wet to be digging. Yesterday our soil was too wet, but it was the only day we good get in and plant, so we went ahead and dug anyways. This meant that we needed to use our fork more than we like to.

The action is basically slamming your fork down onto the bed and aiming for the dirt clumps. You are not digging but patting the top of the soil. This action should pulverize the soil clumps into smaller aggregates. (during the next step of raking you can also use your rake to break up clumps.

note: This is a good time to mention that soil you have dug is now sacred soil. Never to be walked on until the next time you dig. It is always good practice to not step on beds, unless you are digging, but it is a sin to step on a freshly dug bed. This rule was quickly broken by our cat dillybean.

Step 10: Raking, Shaping, and Berming

My personal favorite thing to do is raking, it is very relaxing and calming after the digging and tilthing process. While raking your objective is to create a perfect flat surface with small aggregates to plant your seeds and seedlings into. Use both sides of the rake to move the soil and “chop” the soil with the rake to break up the bigger chunks of dirt.

The bed will quickly begin to look smooth and comfortable. Avoid hills and valleys in the bed and get the soil looking really flat. As seen by the picture to the left you can pull the soil past the string, and then flip the rake over and hit the soil to create a berm. A good bed should have a ledge. Picture a perfect plateau.

By now you will be want to take a long nap. This is a fairly good stopping point for a days work, and you can easily come back tomorrow. But we pressed on to the planting because we knew rain was coming and we wanted to get the plants into the soil.

Step 11: Plant Spacing

This is where your copy of How to Grow More Vegetables comes in handy. We were planting spinach and lettuce for cutting yesterday, so we were able to use the same spacing between plants in our bed… 6 inches. We used our string jib to create string lines that were 6-inches apart.

This is a pretty good look at our jig, with unique looking nails that are spaced at a certain distance from each other. This allows you to quickly use the maximum amount of space in the bed.

Here is a look from above.

Step 12: Dibble Holes

We did not have a dibbler yesterday, so we had to measure 6-inches beneath each string so we knew that the plants would have the proper spacing in the rows. There are very few good examples of a dibbler online, so I am making it a goal of mine to built a good one and blog about it. They are handy tools to quickly allow you to get in-row spacing and poke holes in the ground.

There is no need to dibble if you are direct sowing, if you are direct seeding you should look into buying an earthways or plantet jr. direct seeder. The look like little bike you push. A must have for any savvy gardener.

Step 13: Plant!

Get those seedlings into the ground. Mind your back, and your knees, and your bed. (This is a good time to find your Hori-Hori and use it). Don’t bury the growing tip of the plant. It is smart to pat down the ground around the seedling. I like to think about “tucking the plant into bed.” Be firm yet gentle.

Step 14: Water

Yesterday the rain did this for us, but after transplanting it is smart not to give the plants the stress of not having enough water. If the soil was too dry too be digging, then this is even more important. During the summer we will be pre-irrigating our beds in preparation for digging and planting. I did not mention above, but before starting it is a good idea to check soil moister. You want to dig when the soil moister is between 50-80% of its carrying capacity. We dug yesterday at near 100%

Step 15: Clean up

Respect yourself, your garden crew, your tools, and the garden gods. Don’t ever leave tools out, and always take the time to clean off the soil with a wire brush or hose. Get a file and sharpen your spades and shovels, and wrap up the string. Remay, agrobon, or floating row cover will protect your plants from the frost, pests, and other garden problems.

Happy digging you spring chickens, and enjoy the getting your hands in the soil.


Posted in Agriculture, Daily Happenings, Farm Crew, Workshops | Comments Off on How to prepare a garden bed (the french bio-intensive method)

New Life at White Oak

It’s been a while since we’ve had a post on our blog and as you can imagine much has changed and much has been done. But as the seasons change and life continues forward we are reminded of the cycles of life and how while life is constantly changing around us, all things remain the same.

We are still very excited for the first signs of life on the farm. The raspberries and plums are budding out, tulips and iris are reminding us of the beauty to come, the hard soil is thawing, and the animals are giving birth.


Last Thusday the mother superior of our sheep clan, Gabby, gave birth to three lambkins (two boys and a girl) on one of the coldest days of the year. It was a hard birth, as all triplet births are, and the baby girl didn’t make it. So, we lovingly opened our arms to a pair of rambunctious boys, and thanked mama Gabby with a bucket of alfalfa topped with some tasty molasses and grain. The cycles of spring and life are never more apparent then in moments like Gabby’s birth.


Besides the twin boys (who still need names…) we also welcomed two new staff to the farm, Julie and Dave, the new Children’s Education Coordinators. They have folded themselves into the group. Just as upbeat as the lambs, not nearly as cute, but all of them are getting there legs under them and are learning to walk at White Oak Farm. Their will be dozens of school groups through the farm this spring, keeping the planting season lively and upbeat.

Hopefully you won’t have to wait as long for a blog post, and we look forward to hearing from you this season. Here’s to spring! We will leave you with a few of our favorite springtime quotes.

“In the spring, at the end of the day, you should smell like dirt.” — Margaret Atwood

“Sweet springtime is my time is your time is our time for springtime is love time and viva sweet love. ” — E.E. Cummings

“If I had my life to live over, I would start barefoot earlier in the spring and stay that way later in the fall.” — Nadine Stair

I love spring anywhere, but if I could choose I would always greet it in a garden.      –Ruth Stout

Posted in Daily Happenings | Comments Off on New Life at White Oak

Market Season

The rain finally stopped last week, and our crops are even happier than we are over all the sun we’ve had lately. Last Monday was our first Farmer’s Market of the season here in Williams. It was a slow market but good practice for the busy ones to come.

Yesterday was our second market, and we filled the booth with 14 flats of strawberries, bunches of lettuce and bags of salad mix, kale, chard, onions, snap peas, herbs, dried chilis, and veggie starts. That adds up to a lot of green in the harvest – bushels and bushels, in fact. Gia can attest:

Gia with GreensAnd the chilis:

ChiliThere is a lot of behind-the-scenes preparation that goes on before market that doesn’t necessarily relate to harvest. After a long winter in storage, our table coverings and produce baskets need cleaned and aired out, and our display items accounted for. This season we’re also test-driving a new labeling system for our produce which is taking time to perfect as well.

Market Baskets

Posted in Agriculture, Daily Happenings, Farmers Market, Food, Photography | Comments Off on Market Season

Structural

Hah! Two posts in one day! The relative quiet here on the blog should clue you in to the fact that things are getting busy around here. Nothing anyone could write would be able to capture the sheer volume of activity in this place. Peas are springing up left and right, the goats and lambs seem to double in size daily, as does our collection of milk-filled containers, and our daily project list goes on and on. Weeding fields, burying irrigation lines, mowing, mowing, mowing. Spring school visits are well under way, with June so close we can taste it (just looking at the green strawberries sitting in the field makes my back ache and my stomach grumble), and our long-anticipated Natural Building Apprenticeship filled, it’s going to be a good season.

The real reason I wanted to get this one live is to give an interim update on the status of our latest natural building project here on the farm. It’s come a long way even since these photos, with rough plaster up and ready for action.

Natural BuildingTo the left: straw bales covered in a thick plaster. To the right: wood frame infilled with light straw clay, waiting to be plastered.

My favorite thing about natural building techniques is that they are incredibly versatile in their application. Natural construction on the farm speaks not only to the truth of the materials, but the reality that they were crafted by people. They are warm and organic, inexpensive and efficient, the materials can decompose completely or be broken down and reused. Someone who has never worked on an earthen building before can learn the basics quickly. The light straw clay and rough plaster pictured here was completed by our interns after only a quick demonstration. The finished product is truly sculpture, molded by many hands. Right angles in modern construction lack the honesty and character of earthen buildings – after finishing something we can step back and see ourselves in it.

Natural Building


Posted in Agriculture, Daily Happenings, Farm Crew, Food, Natural Building, Photography, Workshops | Comments Off on Structural

Blooming

The farm is alive with Spring. As we move about the farm preparing for the season, there is flurry of growth followed quickly by the frantic buzzing of insects. The fruit trees are blossoming here at White Oak, with fragrant and colorful blooms visible throughout the farm, in the orchard and in between the annual beds. To stand beneath one of these trees is to be surrounded by the commotion of thousands of bees.

BlossomsBelow, the moist soil is a boon to the comfrey (Symphytum officinale L.), a perennial that is priceless on organic farms for its deep roots and prolific growth. It’s taproot acts as a dynamic accumulator, drawing up minerals and nutrients from deep in the soil. Through it’s fast and steady growth, it makes these nutrients available above ground via its leaves, which can be cut and used for mulch or steeped into a fertile tea. Comfrey must be placed carefully however, as it will spread gladly with any disturbance to its roots – so once it is established it is incredibly difficult to eradicate. At the base of out fruit trees it coexists happily by discouraging the growth of weeds, and can easily be cut and left in place as mulch.

Comfrey

Posted in Agriculture, Daily Happenings, Food, Photography | Comments Off on Blooming

May Critter Update

Halfway through May, the lambs are over two months old, Molly’s kids are a month and half old, and Tillia’s a month. It’s an appropriate time to check in on the little babes and see how they’re coming along:

The Lambs
These guys are huge! The two brothers, Chip and Clip, could still be lifted by an ambitious individual, but their growth has been overwhelming. They still love to throw their weight around, bucking and galloping with glee, but their stride is decidedly heavier. Their sister, Elsa, is significantly smaller, but putting on weight at a good pace. All are well-adapted and love a good scratch on the head. All are still nursing, but they have developed a healthy appreciation for grass and sun. They are unruly though, and require close supervision when being run out to pasture as they easily become distracted and a little too interested in the crops they pass on the way.

Clip

Elsa

Molly’s Kids
All are growing, but a lot more slowly than the lambs. The biggest of the three is Big Brother, followed closely by his sister Leah. The runt of the bunch is Gus, mostly because he is more timid than the others. He will climb in your lap, jump on your bag, chew your hair and steal your heart. They love butting heads and frolicking, and are getting really good at King of the Mountain. We started separating the kids from Molly at night this week, and are milking her in the mornings. Our first batch of fresh cheese was processed today!

Gus

Tilia’s Kids
The youngest of the bunch, Fawns and Elvis are gentle and quiet. They are nursing well but can’t keep up with Tilia’s milk production, so we’re milking her out once a day to keep her healthy.

Fawnz and Elvis

Elvis

Posted in Agriculture, Critters, Daily Happenings, Goats, Photography, Sheep | Comments Off on May Critter Update

Jumping Practice

Frisking

Frisking

Frisking

Frisking

Posted in Critters, Daily Happenings, Goats, Photography | Comments Off on Jumping Practice

Transplanting

It seems the rain heard our complaints and decided May first would be a good day to quit for a while. Last week we caught up on the boatloads of planting that we’d been saving for warmer periods. Yesterday the entire day was spent planting out onion, lettuce, cilantro, dill, and fennel starts, with the onions and the lettuce adding up to the bulk of our efforts.

We plant by hand, dividing up labor into laying out and planting. One person lays out the plugs at their spacing distance in the row, and someone comes behind to put the tiny starts in the ground.

TransplantingEven with all the rain the last few months, in the sun and breeze the topsoil dries out quickly so if we have a lot of planting to do we run drip irrigating while we plant. If there’s a little or if we’re using overhead irrigation we wait to turn on the water until everything’s finished. Transplanting is so stressful on the little starts, it is critical to keep them well watered until they’re established – if not, even the most robust little starts will succumb to stress and dehydration.

Garlic, Onions, Lettuce

Posted in Agriculture, Daily Happenings, Farm Crew, Photography | Comments Off on Transplanting

Rogue Valley Earth Day 2011

The White Oak crew had a table at RVED 2011 on April 23rd. The day was overcast and chilly, and rather than bring our usual bucket-o-cob much to the chagrin of clay-stained parents and children alike, we opted to bring month-old Elsa. Courtney and our intern Kala went early to set up the booth, and I loaded Elsa into a doggy crate with a quart of goat’s milk and a bushel basket of hay in tow. It turns out lambs don’t make the best passengers, as she cried nearly the entire way, except when Car Talk came on the radio. I guess she’s a fan of Click and Clack.

Once we got there, I had rigged a sheep harness as a kind of halter and roped a leash onto the back (lambs also do not like collars), and she trotted along like a champion. At the booth, she was a little shy but took the day in stride, chumming it up with everyone that came her way. When it was time for a feed, she surprised all of us by sipping down goats’ milk straight out of the jar!

Rogue Valley Earth DayWe all had a lot of fun greeting new and old friends and answering questions. Especially with so much recent interest in locally grown organic food, we’re proud to show off what we do to the community.

Rogue Valley Earth Day

Posted in Critters, Daily Happenings, Farm Crew, Farm Programs, Food, Photography, Sheep | Comments Off on Rogue Valley Earth Day 2011